
The Ender 3 V2 stands as a notable evolution in the realm of 3D printing, offering a blend of affordability, reliability, and user-friendly features. This article aims to dissect the aspects that matter most to users: setup, performance, upgrades, troubleshooting, and community support. By breaking down these elements, we provide a roadmap for both newcomers and seasoned users looking to maximize their experience with the Ender 3 V2.
Table of Contents:
– Understanding the setup process
– Evaluating performance and print quality
– Exploring available upgrades
– Troubleshooting common issues
– Leveraging community support
Understanding the setup process

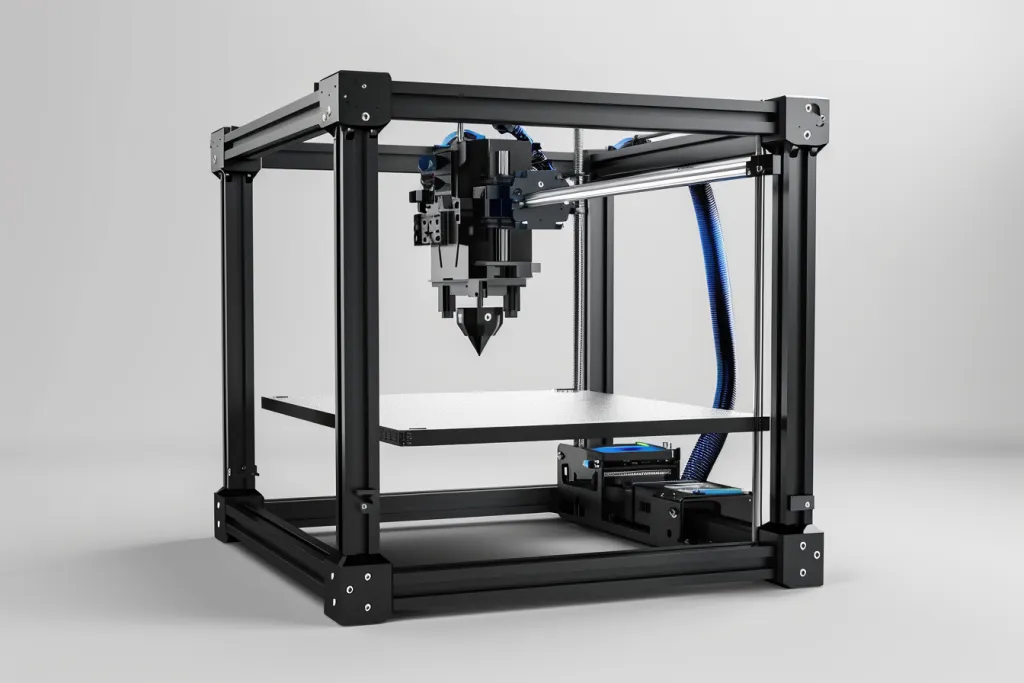
The journey into 3D printing begins with the setup of your machine. The Ender 3 V2, known for its ease of assembly, requires some attention to detail. The first step involves assembling the frame, a process streamlined by clear instructions and labeled parts. Users should pay close attention to the alignment of the frame to ensure stability and precision during printing.
Next, wiring and electrical connections come into play. The design of the Ender 3 V2 simplifies this step, but it’s crucial to follow the guide meticulously to avoid any mishaps. Once assembled, the initial calibration is the final hurdle. Bed leveling, a critical step, impacts the print quality directly. The Ender 3 V2 comes with manual bed leveling, which, while straightforward, can be upgraded to an auto-leveling sensor for an even smoother experience.
Evaluating performance and print quality
Performance and print quality are paramount in the world of 3D printing. The Ender 3 V2 shines in this department, thanks to its precise stepper motors and a sturdy frame that reduces vibrations. The printer’s ability to maintain consistent temperatures during long prints enhances the overall quality of the output.
The print bed, made of tempered glass, offers excellent adhesion and a smooth bottom finish for your prints. However, users should be mindful of the bed temperature settings to avoid adhesion issues. The Ender 3 V2’s nozzle can handle a variety of filaments, from PLA to ABS, giving users the flexibility to experiment with different materials.
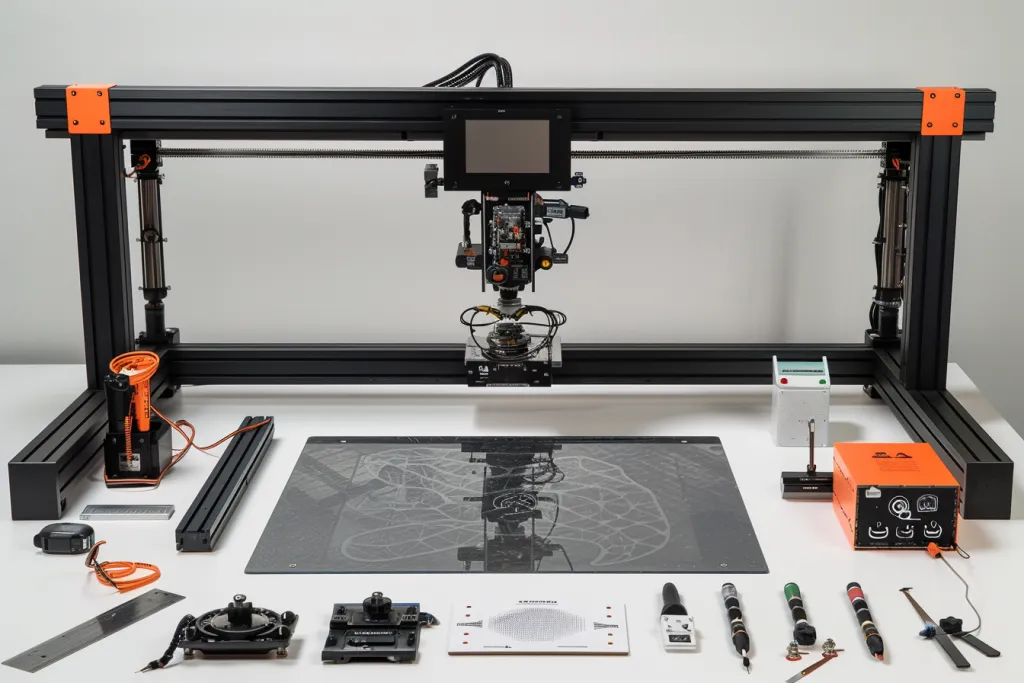
Exploring available upgrades

One of the Ender 3 V2’s strengths lies in its upgradeability. Users looking to enhance their printing experience have a plethora of options. Upgrading to a silent motherboard can significantly reduce noise, making the printer more suitable for home use. Additionally, the installation of an auto-leveling sensor can automate the bed leveling process, improving accuracy and saving time.
Extruder upgrades can also lead to better print quality and reliability, especially when printing with abrasive materials. Lastly, the addition of a filament runout sensor can prevent failed prints, a valuable addition for those running long print jobs.
Troubleshooting common issues
Even with its user-friendly design, users may encounter issues with the Ender 3 V2. Filament feeding problems can often be resolved by adjusting the extruder tension or ensuring the filament path is clear. Bed adhesion issues, a common challenge, can be mitigated by re-leveling the bed or adjusting the bed temperature.
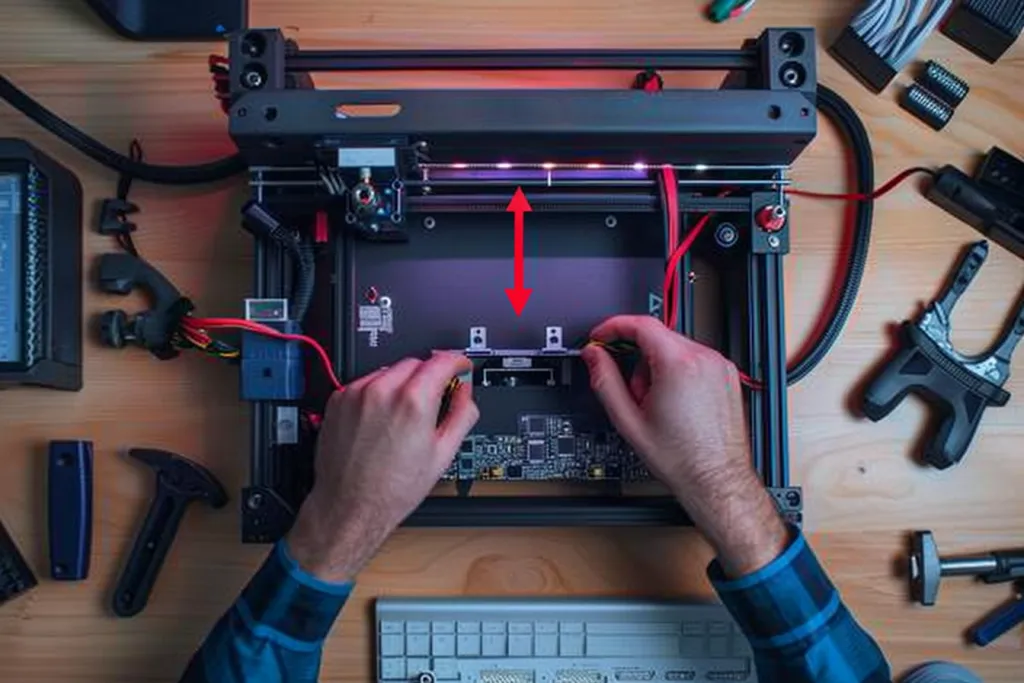
Another area where users might need guidance is firmware updates. Keeping the printer’s firmware up-to-date is crucial for optimal performance and accessing new features. The process involves downloading the firmware from a reliable source and following the update instructions carefully.
Leveraging community support
The Ender 3 V2 benefits from a robust and active community. Online forums, social media groups, and dedicated websites offer a wealth of knowledge and support for users. Whether seeking advice on upgrades, troubleshooting a tricky issue, or sharing success stories, the community is an invaluable resource.
The community also plays a pivotal role in the development of third-party upgrades and modifications. Many of the enhancements available for the Ender 3 V2 were developed by community members, showcasing the collaborative spirit that drives innovation in 3D printing.
Conclusion: The Ender 3 V2 stands as a testament to the advancements in 3D printing technology, offering an accessible platform for both beginners and experienced users. By understanding the setup process, evaluating performance, exploring upgrades, troubleshooting issues, and engaging with the community, users can unlock the full potential of their Ender 3 V2. This guide serves as a starting point for a journey filled with creativity, challenges, and the satisfaction of bringing your ideas to life.