If you’re in the business of preserving and protecting documents, you know that a laminator pouch can be your best friend. As a businessperson, educator, or hobbyist producing business cards, identification cards, invitations, decals, certificates, or any other document, laminators and laminator pouches play a crucial role. For those who don’t know, laminator pouches are either sheets of pre-laminated plastic or plastic sheets used to enclose a document for lamination. In this guide, we’ll offer an in-depth examination of the key components of laminator pouches. You’ll learn a lot about this seemingly humble tool and you’ll definitely be better equipped to make decisions on the kind of laminator pouches you should use.
Table of Contents:
1. Understanding laminator pouch types
2. Choosing the right pouch thickness
3. Standard and custom sizes
4. Using laminator pouches correctly
5. Troubleshooting common issues
Understanding laminator pouch types
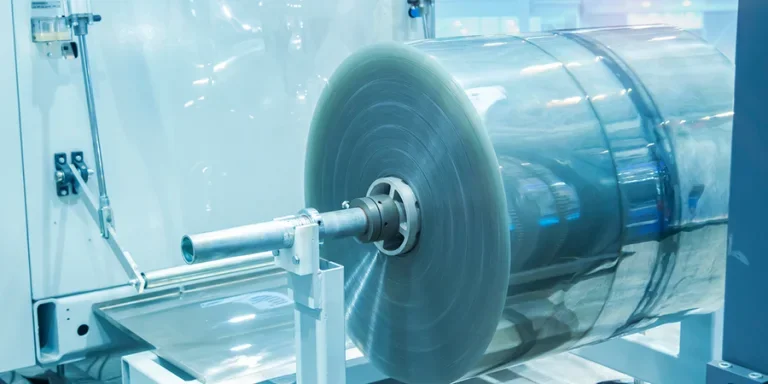
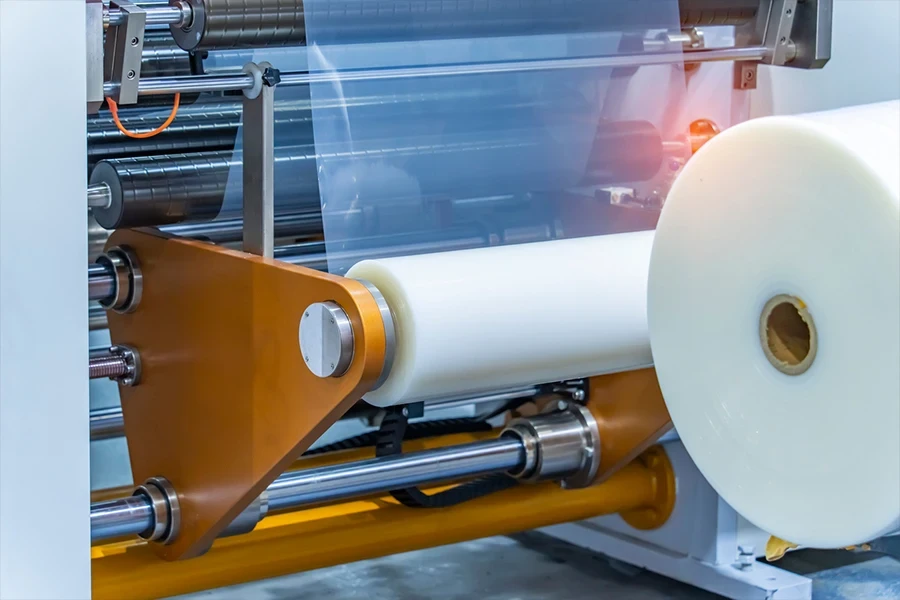
Laminator pouches come in different types, designed to meet different requirements. The most common types are thermal and cold pouches. Thermal pouches needs to be heated up to seal, and are widely used for office documents, flyers, booklets, brochures and book covers, posters, banners, menus, store window advertising, roadside billboards, study books and learning materials. Cold pouches is also called pressure sensitive adhesive, which are perfect for heat-sensitive documents and photos.
Another one is the self-laminating pouch. This type requires no laminating machine and is, therefore, ideal for any quick and on-the-go-laminating purposes. Understanding the different types is very important before choosing the right pouch for your project.
Right lamination type of pouch makes for security of your documents and enhancement of their appearance. Think of the type of practical use you have for the laminated item and choose the right laminator pouch. The durability and clarity are important too.
Choosing the right pouch thickness
Thickness is an important consideration in the performance of laminator pouches. The thickness of pouches are measured in mils (thousandths of an inch), and are generally in a range of 3 mil to 10 mil. A thicker pouch provides more rigid support and is better for a product that’s handled a lot, as with ID cards and instructional material.
For certificates or reports, 3 to 5 mil pouches offer good flexibility, as well as a good amount of protection. If, however, you’re printing menus or business signage, you might wish to upgrade to 7 to 10 mil pouches.
A second value you should consider is thickness. Pouches that are too thick can make your documents stiffer and more fragile, while thinner pouches will allow the end result to remain flexible and easy to handle. You’ll have to choose a thickness that best suits the intended use of your laminated documents.
Standard and custom sizes
Laminator pouches are available in a range of standard sizes. The most commonly required sizes are for the most commonly used document dimensions. These include the letter (8.5 x 11 inches), legal (8.5 x 14 inches) and business card (2 x 3.5 inches) sizes. When you have a need for one of these, chances are high that a usable laminator pouch is already available for your use.
But then there are the custom sizes, unique rolls that call for unique pouches, special projects that might warrant custom paper sizes or special documents that need packaging. One good example is oversized posters. Many times, they can be rolled up in a standard-size pouch. However, to ensure fold integrity and prevent creasing, custom-sized pouches are sometimes necessary. Large oversized rolls of something odd-shaped, such as a special turntable, might dictate the need for a custom size.
When formulating a choice between standard and custom sizes, it is of utmost importance to analyse the type of documents you intend to laminate and your purpose of lamination. While standard sizes are the more popular and cost-efficient sizes that clients often go for, the custom sizes are specially designed sizes that fit your unique requirements, to ensure that your document is exactly what it is supposed to be.
Using laminator pouches correctly
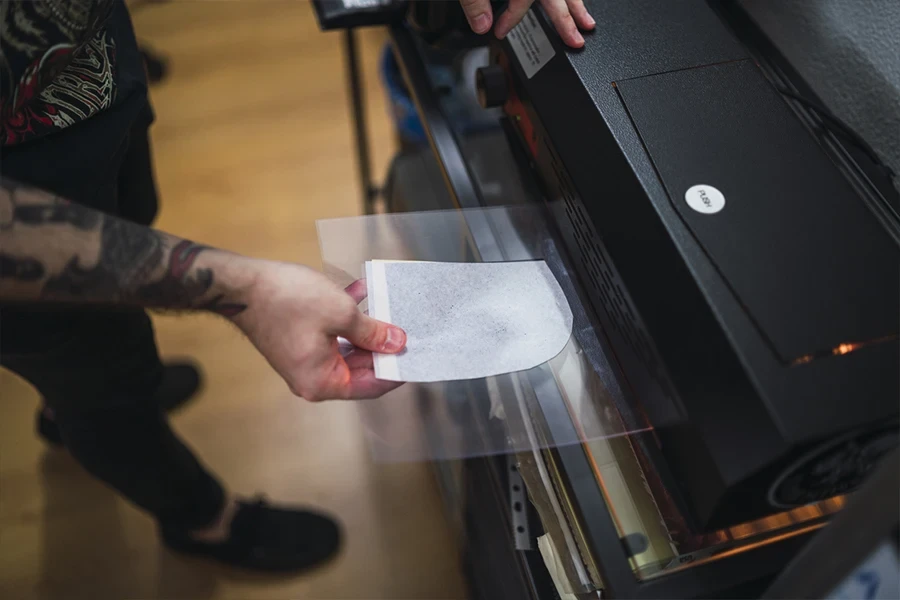
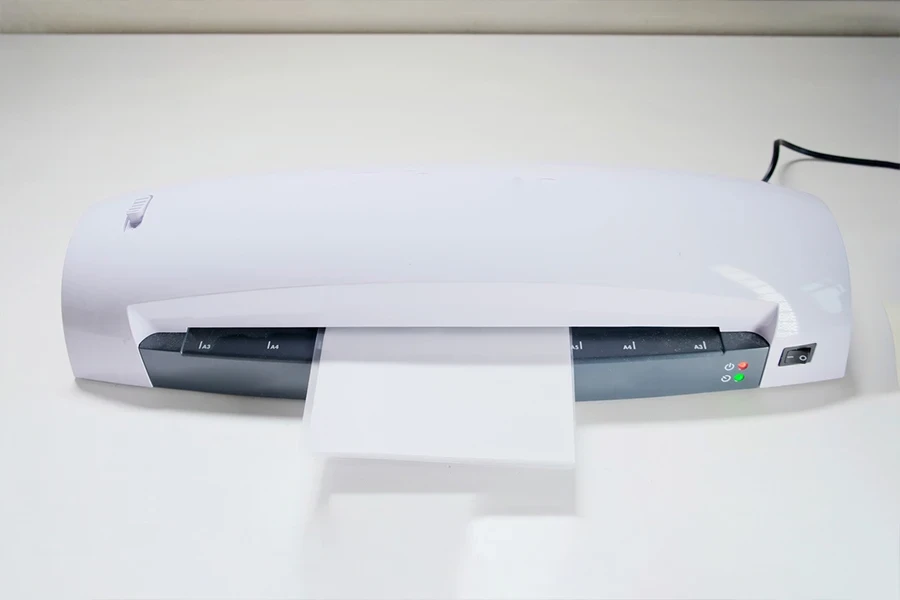
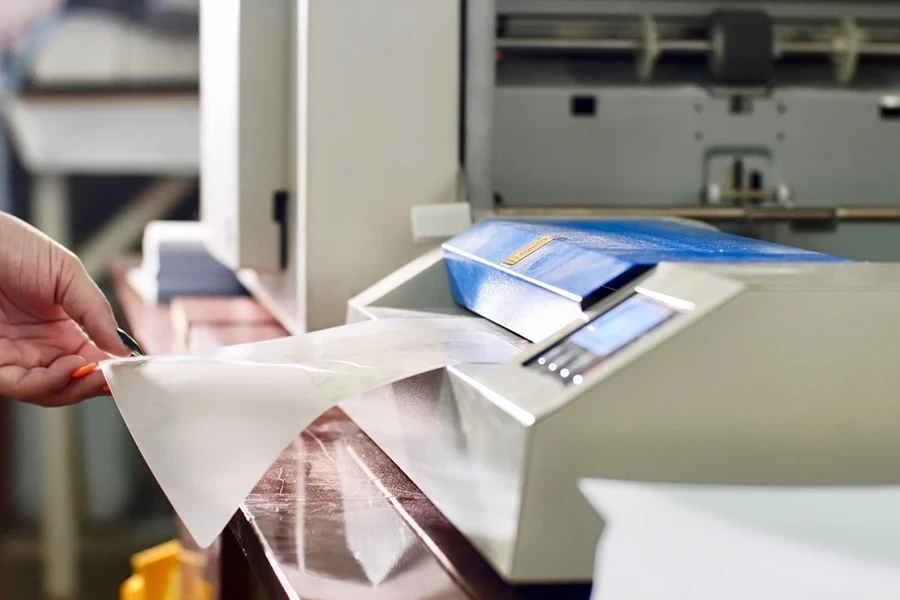
Incorrect usage can greatly affect the quality of the final result, therefore you should pay special attention to laminator pouches. Start with the selection of the type and the size of pouches for your document – it should be of correct size. In case of thermal pouches, check if the laminator is preheated to the proper level. Put the document inside the pouch and make sure it’s aligned properly – otherwise it can be misplaced or get bubbles.
Always feed the pouch into the laminator with the sealed edge first – this avoids jams and ensures a consistent lamination. Press down firmly in one direction for cold pouches, from the back of the unit to the front, activating the adhesive as you go, and smoothing out any air bubbles.
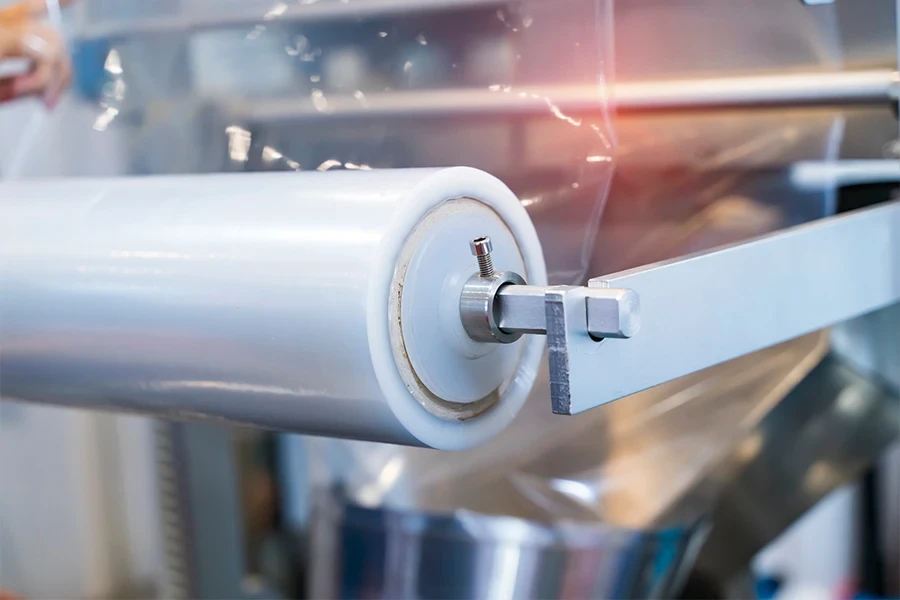
Using it correctly also means maintaining your laminator by making sure you regularly clean the rollers so they don’t have adhesive buildup, and will run smoothly.
Troubleshooting common issues
Even with best practices, you might run into issues. Air bubbles, for instance, might occur if the document hasn’t been placed into the pouches properly – either through uneven pressure or via some sort of debris or residue on the rollers. If your laminator is spewing out bubbled pages, make sure the documents inside are flat and the rollers are clean.
Another problem is pouch jams, usually arising from feeding the pouch incorrectly; make sure that you always feed the sealed edge first and that the pouch is square before you insert it into the laminator; if a jam does occur, you shouldn’t panic; as the pouch is feeding in from the bottom, gently reverse the rollers to back out the laminated pouch and reinsert it.
Thirdly, uneven lamination is caused by using the wrong temperature – consult the manual that came with your laminator. It will tell you the correct temperature based on the thickness of the pouch. Too hot or too cold, and you’ll get an uneven seal, which will make your laminated art look unprofessional.
Conclusion
Lamination pouches enhance and protect any sort of document. It can be hard to figure out how to pick the right pouch for your project, how to choose the right thickness, and how to measure for size. You need to know how to get the best results and how to use the machine, as well as how to solve some of the most common problems. With all this at your disposal, you can confidently take on any laminating task.