Long, fluttery eyelashes are addictive. The vast array of lash extensions now available might help to explain why. While it’s great to have the expert application option of professional salon treatments, not everyone can afford them. So, it’s now possible to get a more affordable version with the option of application at home. The kiss lash extension kit has been making the most of this trend. The kiss lash extension kit combines the best of professional salon treatments with the convenience and affordability of products for home application. You can enhance the appearance of your eyes with this lash extension kit that contains everything needed for quick and easy application at home. This article will examine the essential aspects of the kiss lash extension kit. It will also look at its components, how to apply these eyelash extensions on your eyelids, maintenance tips, how long the lashes last, and how to remove the eyelash extensions. Lovers of beauty enhancement can use the information in this guide to help them achieve the beautiful eye-enhancing look they desire.
Table of Contents:
– What’s inside a kiss lash extension kit?
– Step-by-step application guide
– Tips for maintaining your lash extensions
– Understanding the longevity of lash extensions
– Safe removal techniques for lash extensions
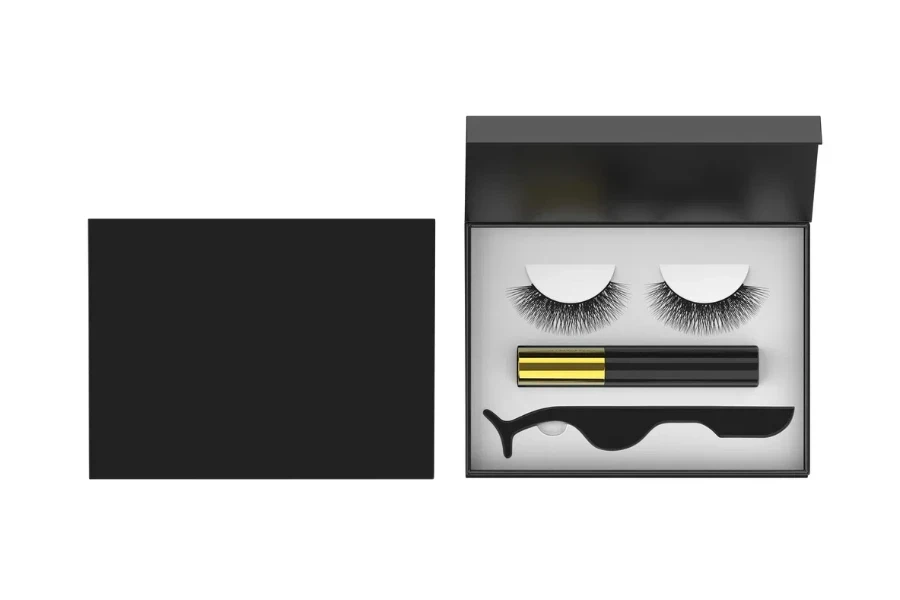
What’s inside a kiss lash extension kit?
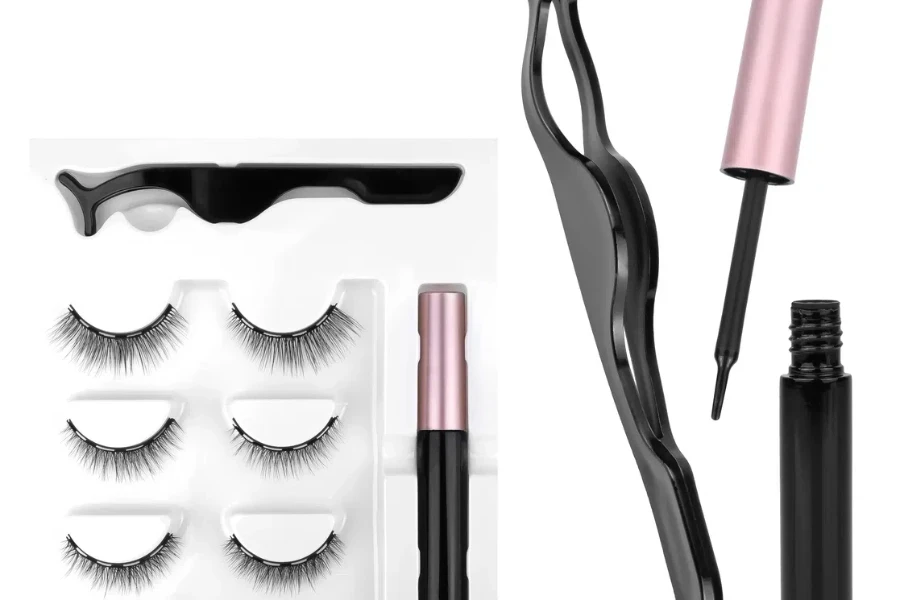
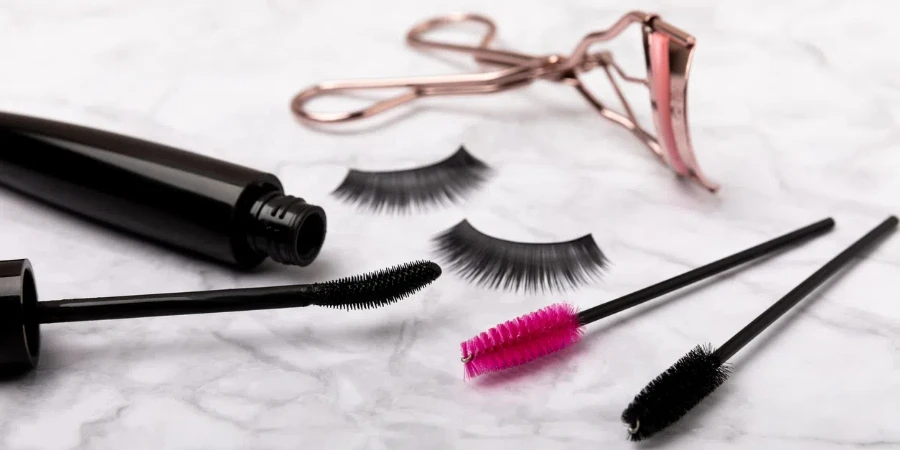
A kiss lash extension kit is not just a kit. It’s a personal route to a prettier personality. It generally contains a set of tools with synthetic materials such as eyelashes that look like your own lashes, a substance looking like glue to fix lashes to yourself, an applicator, and sometimes, a sealant to make the extension longer before removal. All these tools are in coordination with each other. The fake eyelashes are available different length and curl, for adapting to eye shapes and fashion trends.
The glue is the key, specially formulated to hold the lashes on your natural ones for weeks but to be gentle enough on them not to damage them. The applicator is a brush that usually resembles a tweezers, and it is designed to help you put the lashes on in the correct position. Some kits will also include a lash primer, which you apply on your natural lashes before you put the extensions on. Some will also include a remover solution to remove the lash extensions when you want to. 3. Now you know the purpose of each component. Let’s see how you use them for your at-home eyelash extensions to have them look as professional as in a salon.
Step-by-step application guide
Admittedly, learning how to use a lash extension kit can be intimidating at first, but if you work at it slowly and are diligent about your practice, applying your own lash extensions is a simple yet rewarding beauty ritual. Make sure the eyelid area is very clean, without any make-up or creams, as the bonding agent will not adhere to your skin properly. Pick up a single lash fibre with the applicator tool, dip the end of the lash into the bonding agent, and place it on top of your natural eyelash at an angle, but not touching your eyelid.
It’s essential to proceed cautiously, placing one flutter at a time, and gradually building towards an authentic, even look. You shouldn’t rush or overdo it, but I definitely recommend getting the glue on quickly because I have a tendency to faff, and clumps of glue will make the process uncomfortable, not to mention scary when you do another pass over the eyelashes and find there’s some strategic patchiness where you joined up two weights of eyelashes. if you can stay in the middle of the road, and enjoy the journey, you can get to the other side. Allow the adhesive to dry fully and don’t start fluttering your eyelids or applying eyeshadow before you’re done Some of the instructions are technical but, with practice and a steady hand, it can become a wonderful ritual of self-care.
Tips for maintaining your lash extensions
With proper care, your lash extensions can last up to two months. Avoid heavy oil-based makeup removers and cleansers since oil can loosen the adhesive holding the lash extension to your natural lash. Try to use gentle, oil-free products instead. Sleeping on your back can extend the life of your lash extension (sleeping on your stomach or side hastens their shedding).
Rubbing your eyes or using mechanical eyelash curlers can also cause them to fall out, so no to those, too. Brush your eyelashes regularly with a clean spoolie brush to keep them looking good and tangle-free. So, if you follow these tips, you can keep your lashes looking good until it’s time for a new touch-up or removal.
Understanding the longevity of lash extensions

When done correctly, lash extensions can last, generally speaking, between three and six weeks. How long your lashes ‘keep’ their extensions depends on the quality of the kit used, how well your lash technician applies them, and how well you treat your extensions after you leave the salon. Just like your natural lashes, extensions will last until they grow out with the new lash, or three to six weeks (when the shedding of your natural lashes takes place).
‘Fills’ are generally recommended every two or three weeks or, as the lady in the salon told me, until they drop off – at which point your lashes will be lush again. But how long will they last? That comes down to how committed you are to the proper aftercare, and to the biology of your natural lashes.
Safe removal techniques for lash extensions
Perhaps you’ll want to remove them at some point – whether to take a break, or in preparation for a fresh set of lashes – and it can be tempting to simply pull them, but this can damage your lash line. A lash glue remover is designed to pull them out, so apply it to the lashes, allow the adhesive to dissolve and then slide the extensions off.
If you’re not confident enough to pull them out yourself, get a manicurist to do it for you. Proper removal will leave your lashes kept in prime condition to embark upon another beauty adventure.
Conclusion
With the kiss lash extension kit, it is easy to get really sexy lashes from the comfort of your home. If you know what the kit has to offer, what is needed to apply the lashes and how they’re supposed to be maintained, your lashes will look beautifully full and keep looking good for weeks, with no pain caused by glue. With patience and practice, you will perfect your art and learn to apply glue to the lashes’ ends correctly. You will love the full lash look and many people will be envious of you.