Table of Contents
● Introduction: Discover the Magic of Dragon Braids
● Dragon Braid Variations for Every Style
● Tutorial: Creating Your First Dragon Braid
● Dragon Braid Inspirations: Styles to Try
● Conclusion
Introduction: Discover the Magic of Dragon Braids
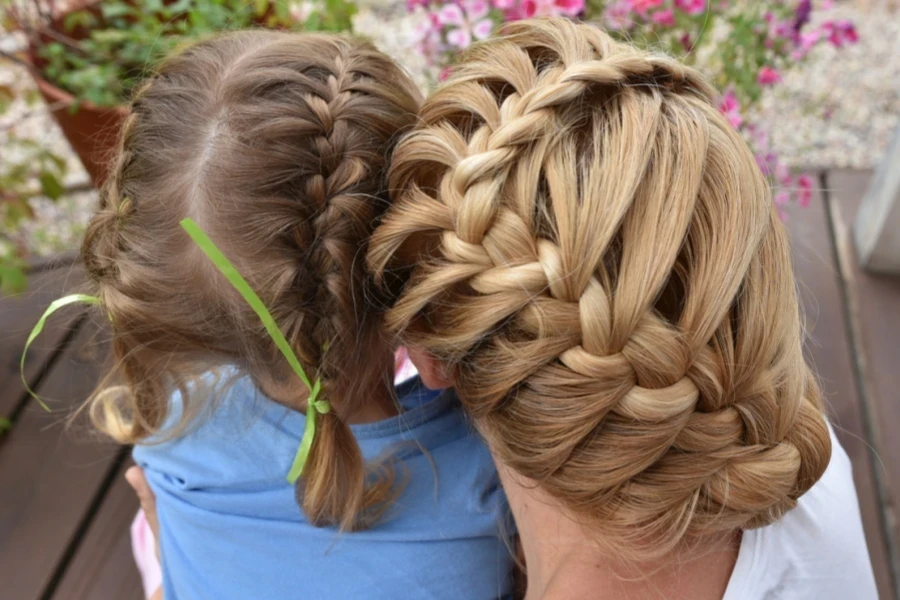
Dragon braids have swooped into the hairstyling scene, captivating beauty enthusiasts with their unique and enchanting appearance. This eye-catching style, which resembles the intricate scales of a mythical dragon, has quickly become a favorite among those seeking a fresh and edgy look. But what exactly are dragon braids, and why have they become such a sensation?
At its core, a dragon braid is a variation of the classic Dutch braid, created by weaving small ponytails together to form a raised, textured pattern along the scalp. The result is a striking, three-dimensional braid that stands out from traditional plaiting techniques. Also known as “pull-through braids” or “3D braids,” this versatile style offers a perfect blend of intricacy and simplicity.
The appeal of dragon braids lies in their adaptability and visual impact. Whether you’re heading to a music festival, preparing for a formal event, or simply want to elevate your everyday look, dragon braids offer a solution for every occasion. They work well on various hair types and lengths, making them accessible to a wide range of hair enthusiasts.
Perhaps the most exciting aspect of dragon braids is their inclusivity. From complete beginners to seasoned hair stylists, anyone can learn to create these mesmerizing braids. With a little practice and patience, you can master the technique and unleash your inner dragon – in the most stylish way possible!
Dragon Braid Variations for Every Style
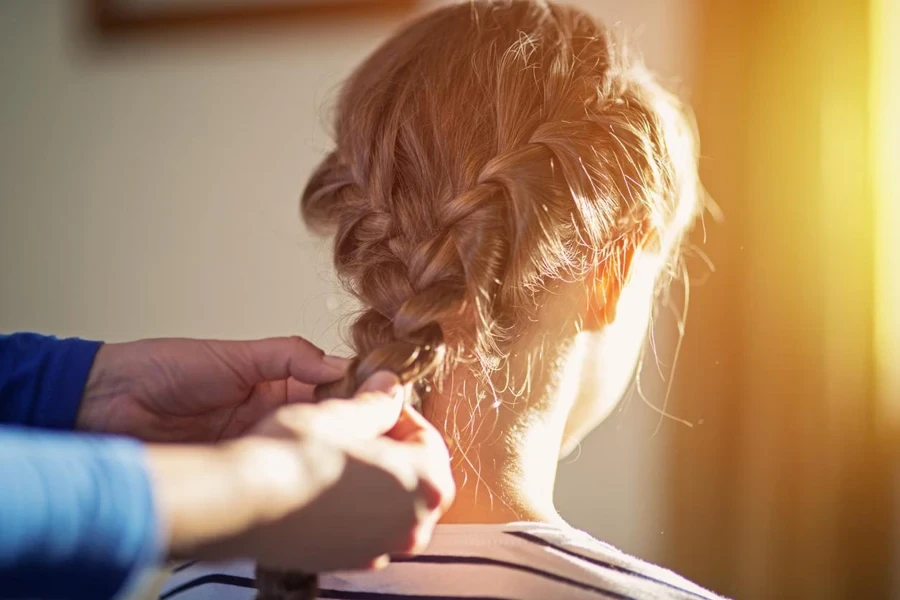
Dragon braids are far from one-size-fits-all. This versatile hairstyle can be adapted to suit various preferences, skill levels, and occasions. Let’s explore some popular variations that cater to different needs and styles.
For beginners, the simple double dragon braid is an excellent starting point. This style involves creating two parallel dragon braids running from the forehead to the nape of the neck. It’s a straightforward yet striking look that’s perfect for those just getting acquainted with the technique. To achieve this, divide your hair into two sections and create a dragon braid on each side, securing them with elastics at the end.
As you gain confidence, you might want to try more advanced styles. The single statement dragon braid is a showstopper that works wonderfully for special events or when you want to make a bold impression. This style features one larger dragon braid running down the center of the head, often incorporating all of your hair for a dramatic effect.
For those with shorter hair or layers, the half-up dragon braid is an excellent option. This style involves creating a dragon braid with the top section of your hair while leaving the rest loose. It’s a great way to add some flair to your everyday look without committing to a full updo.
Adapting dragon braids for different hair types is also possible. For those with curly or textured hair, try a looser dragon braid that showcases your natural texture. If you have fine hair, consider adding some volumizing product before braiding to give your dragon scales more definition and staying power.
Remember, the key to finding your perfect dragon braid style is experimentation. Don’t be afraid to mix and match techniques, incorporate accessories, or even add some color to truly make the style your own.
Tutorial: Creating Your First Dragon Braid
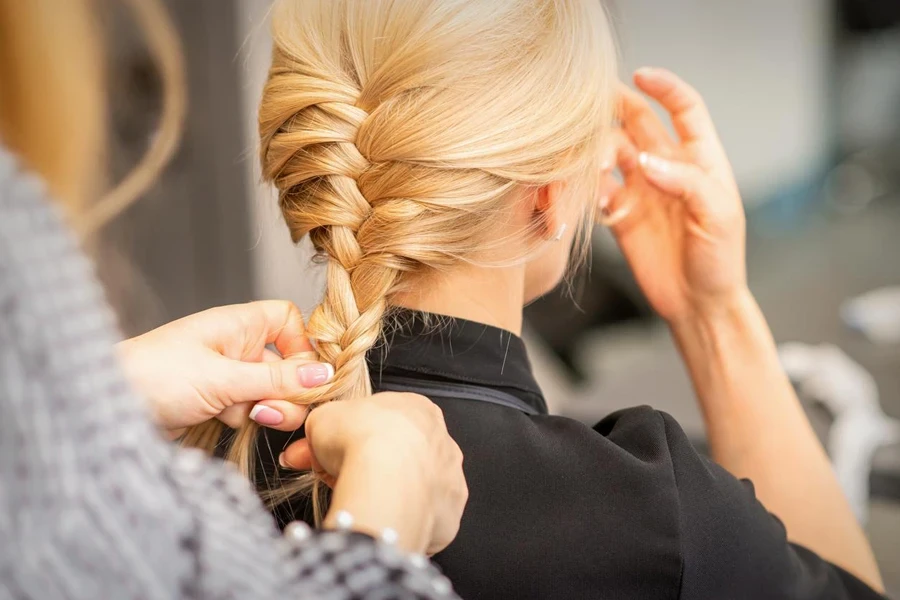
Ready to embark on your dragon braid journey? Follow this step-by-step guide to create a basic dragon braid. With practice, you’ll be crafting intricate designs in no time!
Tools you’ll need:
- A brush or comb
- Small clear elastic bands
- Bobby pins
- Hairspray or texturizing spray (optional)
Step 1: Prep your hair
Start with dry, detangled hair. If your hair is very smooth, you might want to use a texturizing spray to add grip.
Step 2: Create your first section
Take a small section of hair at the front of your head, about 2 inches wide. Divide this section into three equal parts.
Step 3: Begin the braid
Start a regular three-strand braid with these sections, crossing the right strand under the middle, then the left strand under the new middle. Do this twice.
Step 4: Add hair and create the “pull-through”
After the second cross, add a small section of hair to the right strand. Then, instead of crossing it under, pull this now-thicker right strand over and through the other two strands.
Step 5: Secure and repeat
Secure this “pull-through” section with a clear elastic band. This forms your first “dragon scale.” Repeat steps 4 and 5, alternating sides, moving down your head.
Step 6: Finish the braid
Continue until you reach the nape of your neck or run out of hair. Secure the end with an elastic band.
Step 7: Pancake the braid
Gently tug on the edges of each “scale” to loosen and flatten them, creating that distinctive dragon-scale look.
Pro tip: For a messier, more lived-in look, don’t worry about making each section perfect. A little inconsistency can add to the charm of your dragon braid!
Remember, mastering the dragon braid takes practice. Don’t get discouraged if your first attempts aren’t perfect – even experienced stylists needed time to perfect this technique!
Dragon Braid Inspirations: Styles to Try
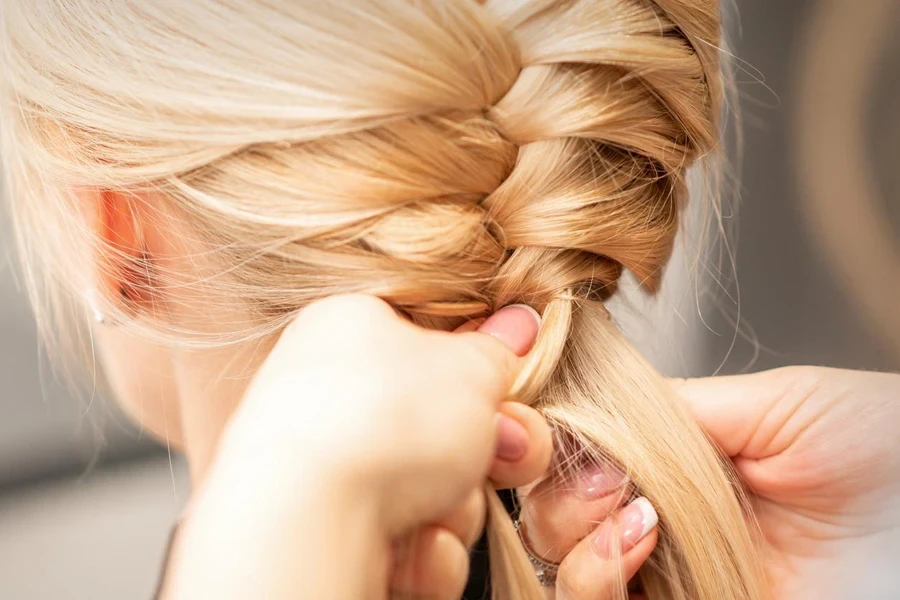
Now that you’ve mastered the basic dragon braid, it’s time to explore some creative variations and draw inspiration from trending styles. Celebrities and influencers have been quick to embrace this trend, offering plenty of inspiration. Take cues from stars like Zendaya, who’s been spotted wearing a sleek, center-parted double dragon braid on the red carpet, or Margot Robbie’s loose, beachy dragon braid with face-framing tendrils for a more bohemian vibe.
Adapting your dragon braid to fit the season or occasion can add versatility to your look. For summer festivals, try a colorful dragon braid mohawk with temporary hair chalk or clip-in extensions. In the fall, incorporate small braids or twists into your dragon braid for added texture. Winter calls for a cozy, chunky dragon braid crown that pairs perfectly with holiday outfits. For special events like weddings or proms, create an elegant updo by wrapping a dragon braid around a low bun.
Elevate your dragon braid by incorporating accessories. Thread ribbon or colorful string through the braid for a pop of color, add small flowers or leaves for a whimsical, nature-inspired look, or use metallic bobby pins or hair cuffs to add sparkle and secure flyaways. If you’re feeling adventurous, consider adding some color to your dragon braid. Create an ombré effect using extensions in gradually lighter shades, braid in colorful strands for a hidden rainbow effect, or apply hair-safe glitter to your roots for a dazzling finish.
Pay attention: the key to a great dragon braid is confidence and creativity. Don’t be afraid to experiment with different techniques, accessories, and colors to find the style that best expresses your personality. Whether you prefer a sleek and polished look or a more relaxed and bohemian vibe, there’s a dragon braid variation out there for everyone. So go ahead, unleash your inner dragon, and let your creativity soar!
Conclusion
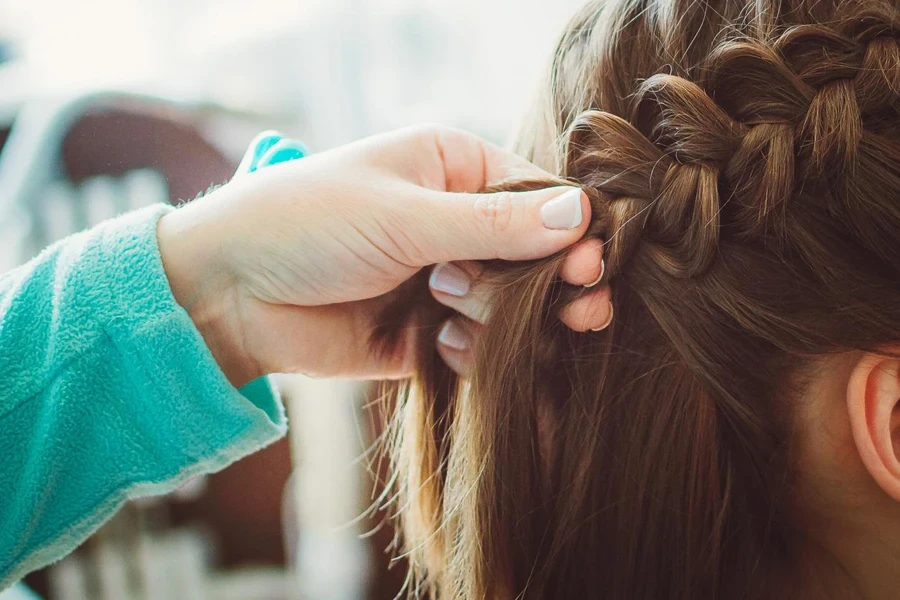
As we’ve explored, dragon braids offer a captivating blend of artistry and versatility that has taken the beauty world by storm. From simple beginner styles to intricate, head-turning creations, these braids provide endless possibilities for self-expression and creativity. Whether you’re preparing for a special occasion, hitting the gym, or simply want to elevate your everyday look, dragon braids can be adapted to suit your needs and personal style. As you embark on your dragon braid journey, remember that practice makes perfect, and don’t hesitate to experiment with different techniques, accessories, and color combinations. With a little patience and imagination, you’ll soon be crafting stunning dragon braids that showcase your unique personality and flair. So go ahead, embrace this enchanting trend, and let your inner dragon roar with style!


