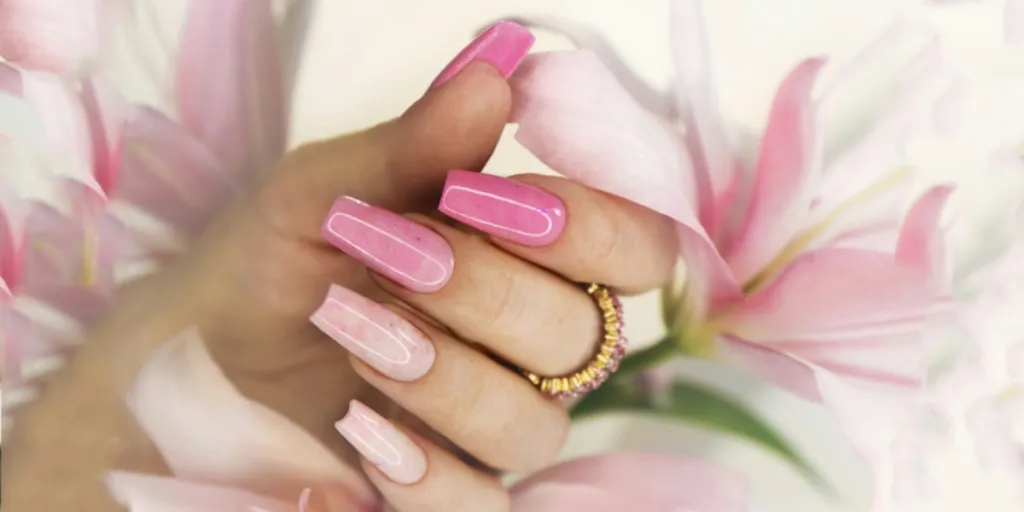
Acrylic nails are a great choice for anyone who wants longer, stronger nails. Not only do they add instant length, thickness, and a protective layer to your natural nails, but they can also be shaped to your preference and come in any color or pattern imaginable. The only issue is, how to remove them without damaging your natural nails underneath? Fortunately, it’s not as hard as you think.
There are two main ways to remove acrylic nails: the professional salon route or the DIY at-home alternative. There are pros and cons to both methods, so which you choose will really depend on whether you have the time, money, or will to have a nail artist remove them for you or whether you want to invest in the necessary tools to do it yourself at home.
In this article, we’ll outline the benefits of in-salon and at-home acrylic nail removal so you can make an informed decision about which method is best for you. We’ll also provide some tips on the best nail care practices so you can ensure your natural nails remain healthy and strong in between manicures.
Table of Contents
What are acrylic nails?
Why removing acrylic nails properly is important
How acrylic nails are removed in a salon
Tools you will need to remove acrylic nails at home
How to remove acrylic nails at home
After-care for your nails
Final thoughts
What are acrylic nails?
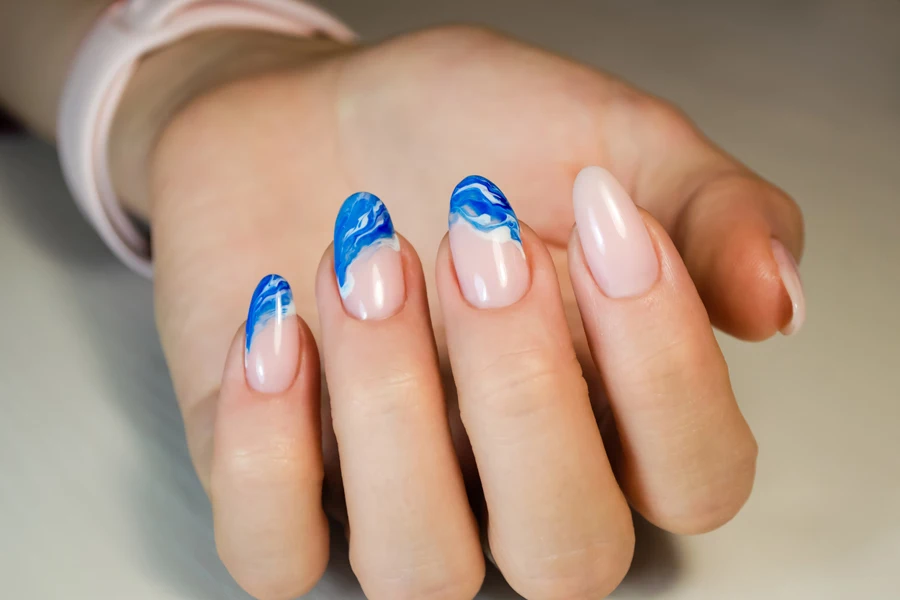
Before diving into how to remove acrylic nails, it helps to know exactly what they are. Basically, acrylic nails are a paste made from powder polymer and liquid monomer. The paste is applied to your natural nails, where it hardens and bonds to the nails. Once the acrylic nails are set, you can file, shape, or paint them with regular nail polish. If properly applied, acrylic nails can last for weeks without falling off, chipping, or breaking.
Why removing acrylic nails properly is important
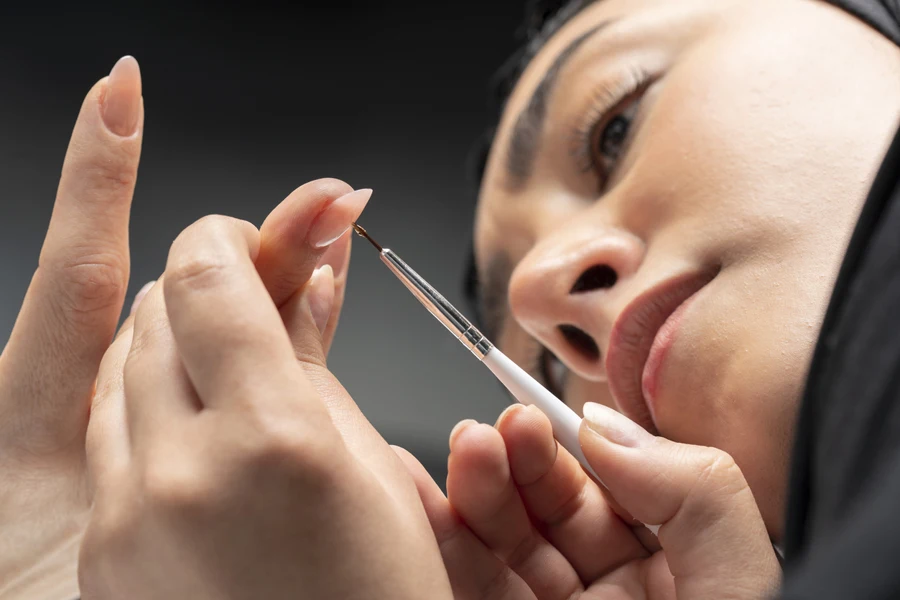
When acrylic nails bond to your natural nails, they really stick. Taking them off can be tricky because if you try to pull them off or use some sort of tool to remove them, you risk damaging the nailbeds below. In addition, removing acrylic nails improperly can cause your natural nails to peel and weaken.
A professional nail artist will know how to remove acrylic nails without damaging the natural nails underneath.
How acrylic nails are removed in a salon
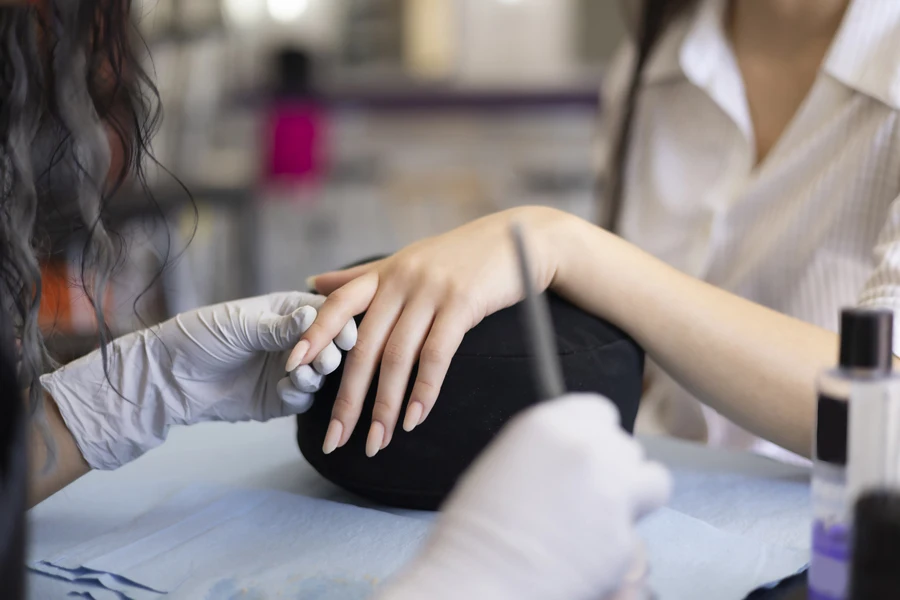
If you decide to leave your acrylic nail removal to a professional, there are a number of steps they will take to safely and efficiently remove the nails. First, they will trim them enough to remove some of the length, but without cutting your natural nails. Then they will file them down before soaking them in acetone. Once the acrylic softens, they may remove the remainder of the acrylic nail with tools like a cuticle pusher or orange stick. Finally, they will buff and treat your natural nails.
One of the main benefits of having a professional remove your acrylics is their expertise. A good nail technician will know how to remove acrylic nails without causing damage to your real nails underneath. In addition, they should be able to do it quickly, and with less hassle than if you try it yourself at home. However, if you don’t have time to go to the salon, it is possible to do it yourself at home. You just need a few key tools and a little bit of knowledge.
Tools you will need to remove acrylic nails at home
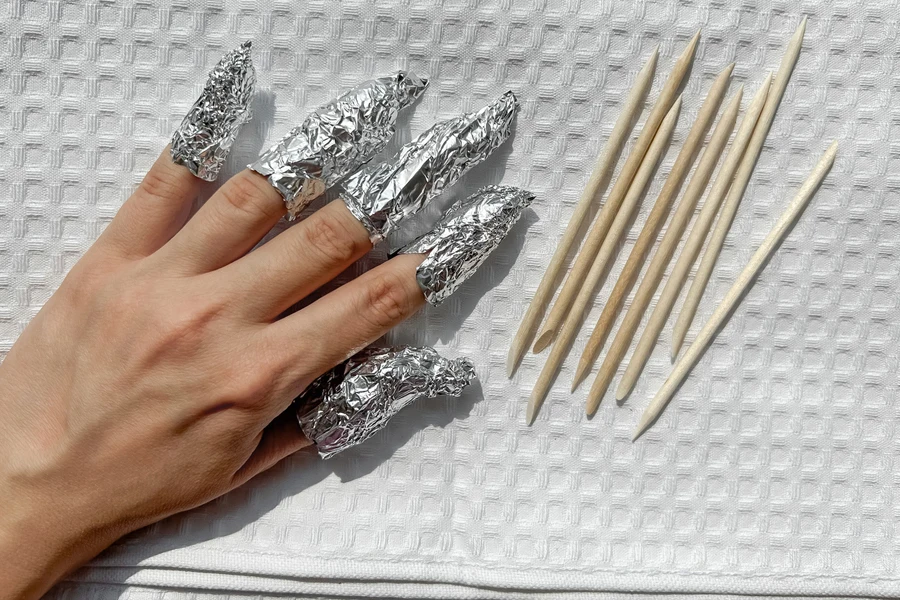
If you’re up to the task of removing your acrylic nails at home, there are a few tools you’ll need to do the job right:
- Nail clippers: Nail clippers will help you remove a part of the acrylic nails to make them easier to take off. Look for large, sturdy clippers that can handle the strength of the acrylic nails.
- Nail file: A nail file helps to remove some of the acrylic before you soak them in acetone and help smooth your natural nails after the acrylic is gone. You might want to invest in one rough file for the acrylic nails and one finer file for your natural nails.
- 100% acetone nail polish remover: Acetone is the key to softening the acrylic so that you can easily remove it without damaging your natural nails. Look for 100% acetone nail polish remover.
- Cuticle sticks: Cuticle sticks will help you slide the softened acrylic off your nails. Wood sticks will be gentler on your nails than metal, but still sturdy enough to get the job done.
- Tin foil or cotton balls: Some people use tin foil or cotton balls to cover their nails while the acetone is doing its work
- Cuticle oil: You don’t necessarily need to apply cuticle oil after you remove acrylic nails, but it can help strengthen and soften the skin around the nails
- Electric nail file: An electric nail file or drill is also not necessary, but it can help you quickly file away hard acrylic. However, it takes some practice to master.
How to remove acrylic nails at home
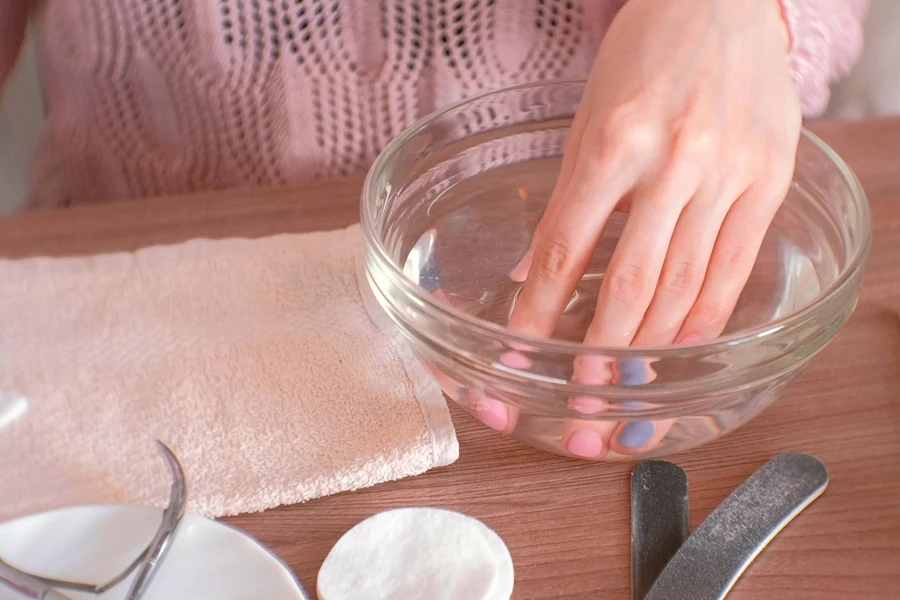
Removing your acrylic nails yourself at home is not very difficult provided you have the right tools. These are the steps you will need to take to get the acrylic off properly.
1. Clip the acrylic nails
The first thing you want to do is cut the acrylic nail down so there is less to remove later. Ideally, you want to clip the nail down to just above your natural nail. You also want to make sure the nail doesn’t snap off while you’re clipping it. The easiest way to do this is to start on one side of the nail, then clip the other side. The middle should be the last part you clip.
2. File the acrylic nails
Filing will help you remove a decent amount of the acrylic before soaking. Choose a rough-grain file that can handle the acrylic and file off the top layer of the acrylic. Stop when you’re getting close to the natural nail underneath.
3. Soak the nails in acetone
There are a few ways you can soak the nails in acetone. You can simply pour the acetone in a bowl or container and soak the nails in that. You can also soak cotton balls or pads in acetone and then wrap the cotton around each nail. Tin foil can help secure the acetone-soaked cotton in place. Leave the acetone on for about 20 minutes, checking on it regularly.
4. Gently scrape the softened acrylic off with a cuticle stick
Once the acrylic has softened significantly, use a cuticle stick to scrape any bits that still remain on the nails. If you find that it’s not scraping off easily, let your nails soak in the acetone a bit longer. The remaining acrylic should be easy to slide off.
5. Buff the natural nails
The final step is to gently buff the nails to ensure all of the acrylic is gone. This is where you’ll want to use your finer-grain nail file so that you don’t scratch or weaken the natural nails.
After-care for your nails
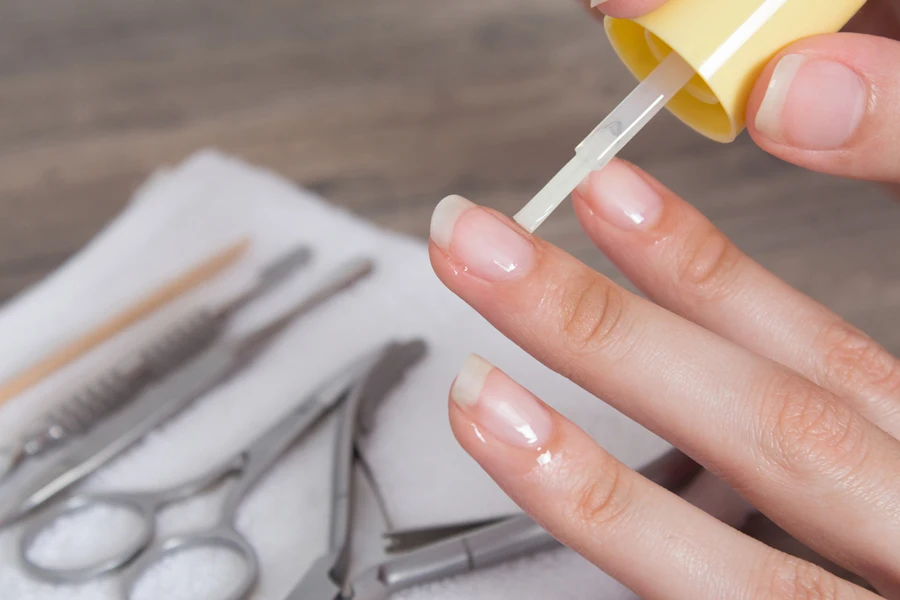
The process of taking off acrylic nails can be hard on your real nails and skin, so you might want to consider some after-care. Cuticle oil is great for hydrating the skin around the nails. A good moisturizer can also soothe the nails and soften the skin.
Final thoughts
Acrylic nails look great while they’re on, but getting them off is a bit of a process. Thankfully, there is an efficient way to do it that doesn’t harm your natural nails. Whether you go to a professional or do it yourself at home, the correct method can help to ensure that your nails remain healthy, strong, and ready for your next round of nail art.
