Butterfly braids have started to gain popularity in the world of hairstyling because of their complex yet beautiful appearance. This fashionable hairstyle showcases lovely looped braids that result in a butterfly-like effect, making it a great pick for many events.
If you want to improve your braiding skills, continue to read this guide to master butterfly braids.
Table of Contents
What are butterfly braids?
A step-by-step guide for making butterfly braids
Step #1: Prepare your hair
Step #2: Divide the hair into sections
Step #3: Create the first loop
Step #4: Add more hair to the loop
Step #5: Continue the process
Step #6: Secure the braids
Step #7: Finishing touches
Butterfly braids for various occasions
i) Romantic date night
ii) blend with bohemian aesthetics
iii) Casual chic style
iv) Styling for a formal event
v) Styling for festive events
Final takeaway
What are butterfly braids?
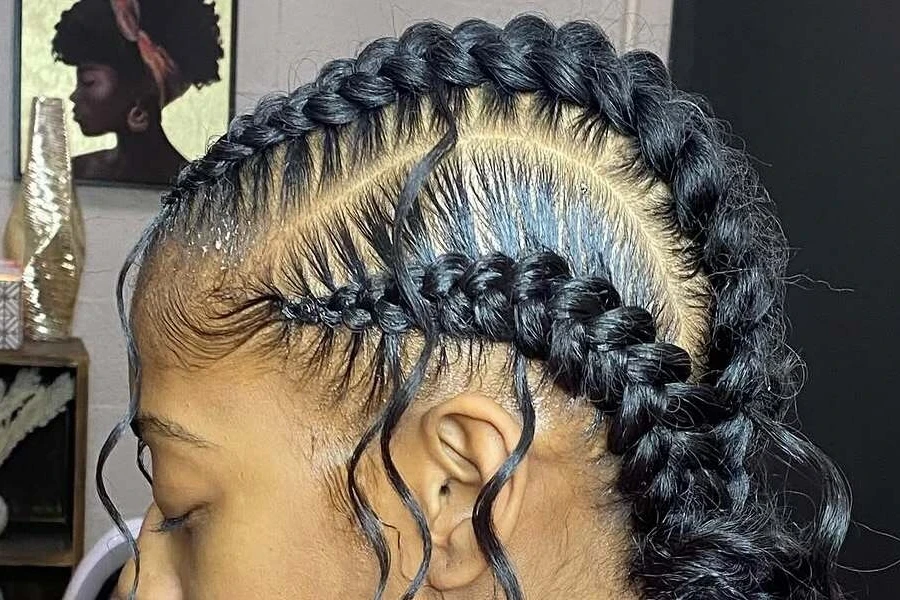
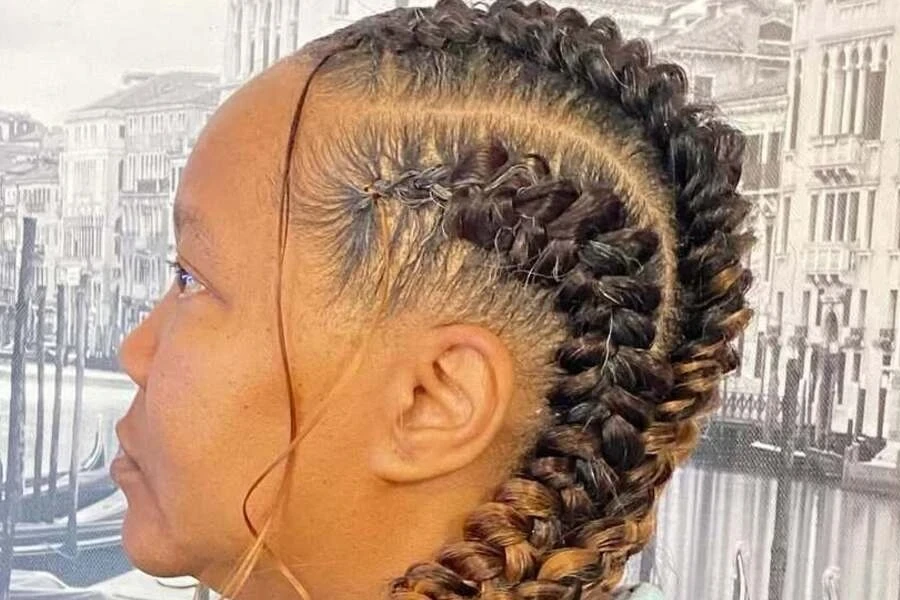
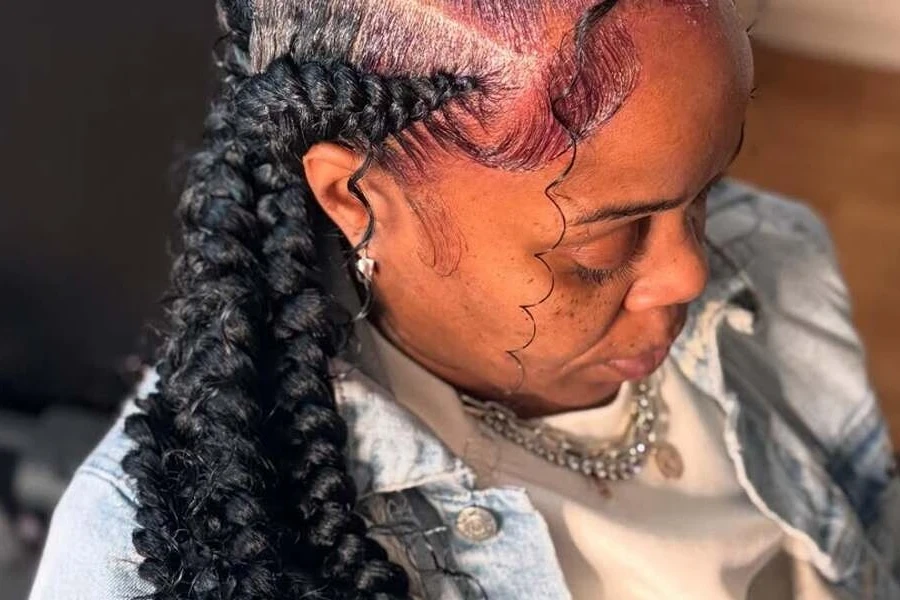
Butterfly braids offer a fresh look on classic braiding methods, where parts of the hair loop and weave into the braid. This creates striking patterns that look like butterfly wings. The loops add fullness and depth, which makes this style perfect for anyone who wants their hair to stand out.
A step-by-step guide for making butterfly braids
With adequate practice and creativity, you can add butterfly braids to your hairstyling collection. This would give you a wide range of hairstyles to rock for multiple occasions, from formal to casual events.
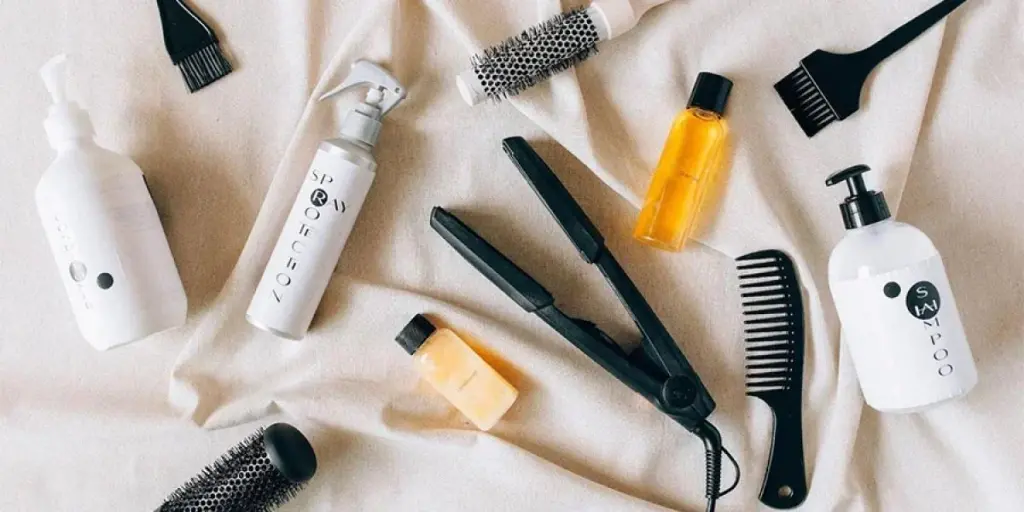
Before we get into the step-by-step guide, here are some items you will need to create the braids:
- A hairbrush or comb to smooth and detangle your hair
- Hair clips or ties to hold sections of your hair in place
- Hair elastics to secure the ends of your braids
- Hairspray (optional) to add hold and prevent flyaways for a more polished finish
Now that you are ready, follow these steps for beautiful butterfly braids:
Step #1: Prepare your hair
Start by brushing through your hair to remove any tangles. This ensures the braids are smooth and neat as you work through each section.
Step #2: Divide the hair into sections
Use clips or ties to section your hair into manageable parts. Depending on the thickness of your hair, you may want to divide it into two or three sections to make the braiding process easier.
Step #3: Create the first loop
Start by taking a small section of hair from the side near your forehead. Divide it into two equal pieces, then cross the right section over the left to form a basic knot. This knot will act as the foundation for the first loop of your butterfly braid, giving it that signature shape.
Step #4: Add more hair to the loop
Take a small section of hair from the top, near the loop you’ve just formed. Incorporate this new section into the right side of the loop and cross the right part over the left once more to create a fresh loop. This will expand the butterfly shape as you move along the braid.
Step #5: Continue the process
Repeat the process by adding small sections of hair to the right side and crossing it over the left side to form additional loops. The more loops you create, the fuller and more intricate your butterfly braid will become. Keep going until you reach the desired length and thickness.
Step #6: Secure the braids
Once you have completed the braid, use a hair elastic to secure the end of each section. This keeps the braid intact while allowing the loops to maintain their shape.
Step #7: Finishing touches
For a polished look, gently pull on the loops to make them appear fuller and more defined. If desired, spritz some hairspray to ensure the braids stay in place and reduce flyaways.
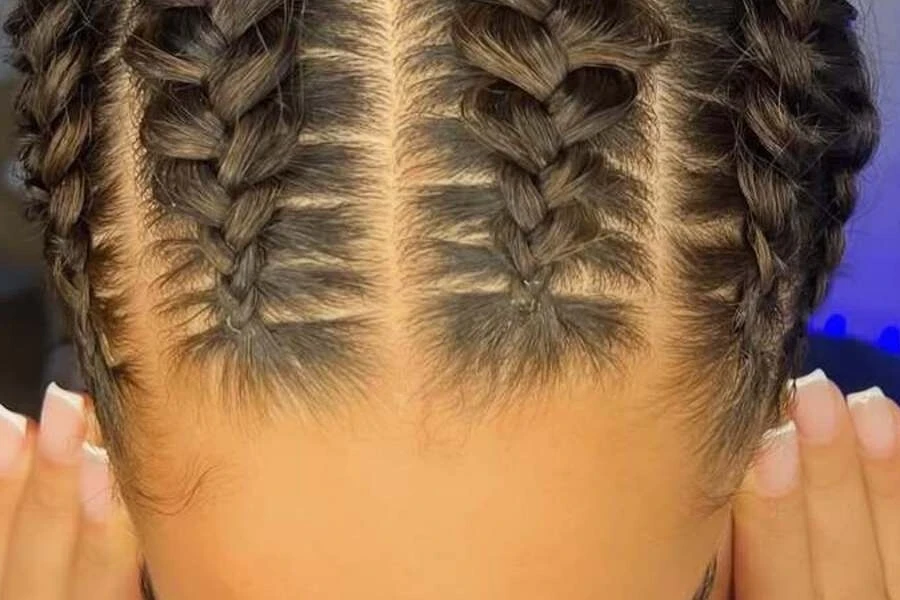
Butterfly braids for various occasions
Now that you have mastered the art of butterfly braids, here are some ways to wear them for different events:
i) Romantic date night
For a romantic dinner or date night, style your butterfly braids by twisting them together at the back of your head. Secure the ends with bobby pins to create a delicate, twisted bun. This elegant updo highlights the intricate design of your butterfly braids while adding a touch of sophistication.
ii) Blend with bohemian aesthetics
Butterfly braids work beautifully with a bohemian look. You can pair them with a flowy dress and some simple accessories like a flower crown or beaded hairpins for a carefree, boho-inspired style.
iii) Casual chic style
If you are aiming for a relaxed yet fashionable look, create two butterfly braids and leave the rest of your hair flowing freely. This style works great with a simple top and jeans or a casual dress and is perfect for casual outings with friends or just a laid-back day at the beach.
iv) Styling for a formal event
Butterfly braids are perfect for formal events like weddings and galas. To achieve a sophisticated look, smooth out the loops and keep the braids neat and polished. This style pairs well with formal dresses or suits, offering an elegant twist on traditional braids.
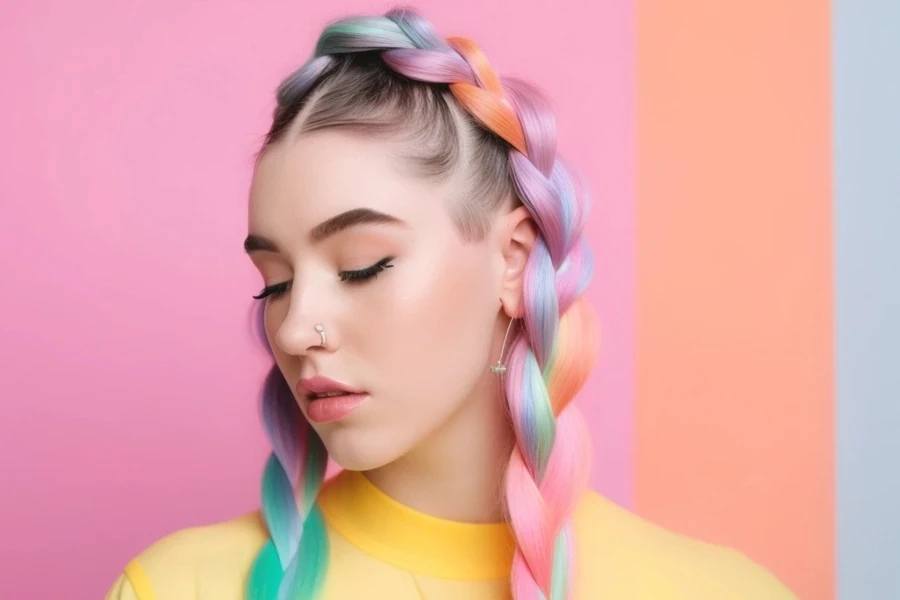
v) Styling for festive events
During festive seasons, add a touch of sparkle by incorporating metallic hair accessories or decorative pins into your butterfly braids. You can also consider temporary hair dyes to make your butterfly braids stand out more. These changes can help create a fun and festive hairstyle for holidays and celebrations.
Final takeaway
Butterfly braids are a beautiful and versatile hairstyle that can be styled for any occasion. Whether you are going for a romantic date night look, looking for a chic everyday style, or something a little more formal, these braids will add the perfect touch of elegance and creativity to your hair. With a little practice and the right tools, you can master this stunning braid style in no time.