Acrylic nails are a popular choice for those who want long-lasting, beautiful nails. But acrylic nails don’t last forever; whether you want a break from acrylics or are looking to replace them with a new style, it’s important to know how to take them off properly to avoid damaging your natural nails.
Removing the acrylic nails doesn’t have to be challenging and can be done safely if you follow the right steps. Here, we’ll walk you through the best ways to remove acrylic nails at home as well as provide tips on how to care for your nails after removing the acrylics. We will also let you know when it’s best to get professional help to remove your nails.
If you’re a business selling acrylic nails and other beauty products, it’s important to be knowledgeable on how to remove them safely so you can provide the best advice to your customers. The acrylic nail market is thriving! The global artificial nails market size was valued at USD 1.45 billion in 2023, and according to Google, searches for professional acrylic nail kits are up 50% over the last year.
Table of Contents
Why you shouldn’t rip acrylic nails off
Preparation before removal
How to take off acrylic nails
Tips for healthy nails after acrylic removal
How to know when to get a professional to remove nails
Final thoughts
Why you shouldn’t rip acrylic nails off
Since you’re here, you probably already know that it’s a bad idea to attempt to rip off your acrylic nails. But it may seem tempting, especially if they are already starting to lift at the edges. It’s critical to stress that you should never pull or rip off acrylic nails, as this can cause damage to your nails. Pulling off acrylics can cause your natural nails to peel, crack, or even become infected.
Preparation before removal
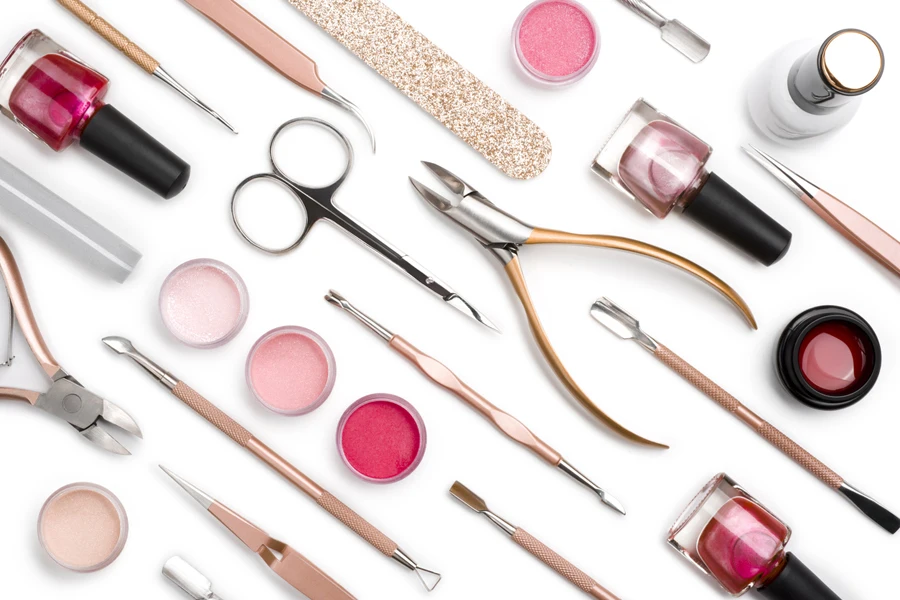
To make the acrylic nail removal process smoother and safer, it’s helpful to have the right tools and products on hand. Here’s a list of products that can make removing your acrylic nails easier and protect your natural nails during the process:
- Pure acetone: Acetone is a key ingredient for dissolving acrylic nails. It’s a powerful solvent that softens and breaks down the acrylic material, making it easier to remove.
- Nail file or buffer: A nail file or buffer is used to file down the acrylic layer, making it easier for the acetone to penetrate. A buffer can also help smooth out your natural nails after the acrylic is removed.
- Cotton pads or cotton balls
- Nail clippers
- Aluminum foil: Aluminum foil is used to wrap around your fingertips after applying acetone-soaked cotton balls. It helps keep the acetone in place and retains heat, speeding up the removal process.
- Wooden cuticle stick: A wooden stick, often called a cuticle pusher, is a gentle tool used to scrape off softened acrylic after soaking.
- Nail drill (optional): A nail drill is an electric tool used for gently filing away acrylic nails. It can be faster than soaking and scraping but requires some practice and caution to avoid damaging natural nails.
- Cuticle oil: Cuticle oil is a nourishing oil designed to moisturize your cuticles and nails. It helps hydrate and restore nails after acrylic removal.
- Hand cream
Having the right tools and products will make the acrylic nail removal process safer and more efficient, ensuring your nails stay healthy throughout the process. Always be sure to take your time, use gentle methods, and hydrate your nails afterward to maintain their strength and appearance.
How to take off acrylic nails
There are three common methods for taking off acrylic nails, and we will outline each of them here.
Method 1: Acetone soak
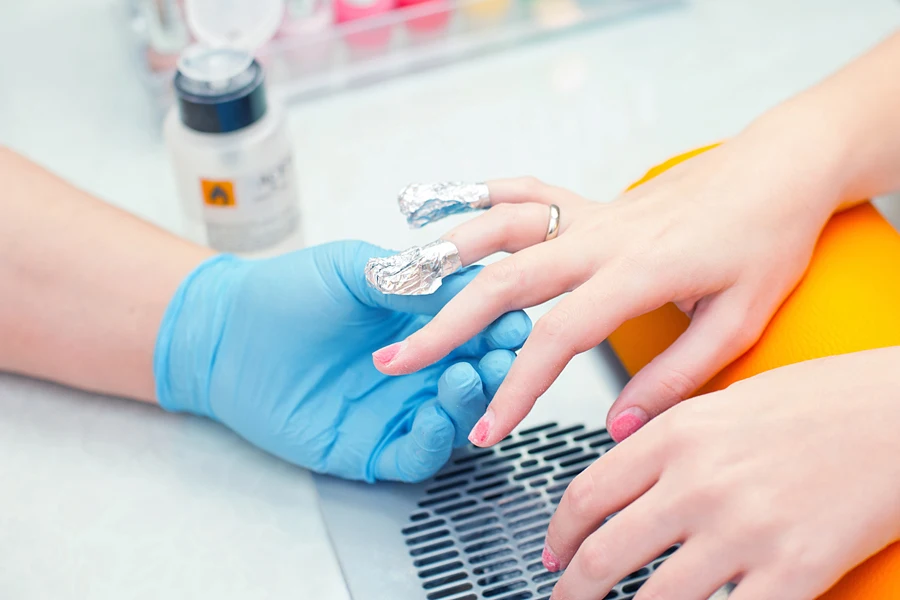
One of the most common and safest ways to remove acrylic nails is by soaking them in acetone. Acetone is a strong solvent that helps dissolve the acrylic, allowing you to safely remove it without damaging your natural nails.
What you’ll need:
- Acetone
- Nail file or buffer
- Cotton balls or pads
- Aluminum foil
- A bowl for soaking
- A buffer or nail buffer block
Step-by-step instructions:
- Trim the acrylic nails: Start by cutting your acrylic nails down to remove as much of the extra length as possible. The less acrylic you have to remove, the quicker the process will be. Use a nail clipper to trim them to a shorter length, but don’t cut too close to the natural nail.
- File the surface of the acrylics: Gently file the top layer of the acrylic nails with a coarse nail file. This will help the acetone penetrate and dissolve the acrylic more effectively. Be sure to avoid filing too much of your natural nail.
- Soak the cotton balls in acetone: Take a few cotton balls or pads and soak them in the bowl of acetone. You’ll want to make sure they are fully saturated but not dripping.
- Apply the cotton balls to your nails: Place the acetone-soaked cotton balls directly onto the surface of your acrylic nails.
- Wrap with aluminum foil: After placing the cotton balls, wrap each fingertip with a small piece of aluminum foil to secure the cotton ball in place. This will help the acetone stay on your nails and speed up the removal process.
- Wait for 15-20 minutes: Allow the acetone to sit on your nails for about 15 to 20 minutes. During this time, the acetone will break down the acrylic nails, making them soft and easier to remove.
- Gently scrape off the acrylic: Using a wooden cuticle stick, gently scrape off any remaining acrylic. Don’t force it—if it’s not coming off easily, reapply the acetone and wait a few more minutes. Repeat the process until the acrylic comes off smoothly.
- Buff and moisturize your nails: After the acrylic nails are fully removed, your natural nails might feel a bit dry. Use a nail buffer to smooth the surface, and don’t forget to apply cuticle oil or a moisturizing hand cream to hydrate your nails and surrounding skin.
Method 2: Using a nail drill
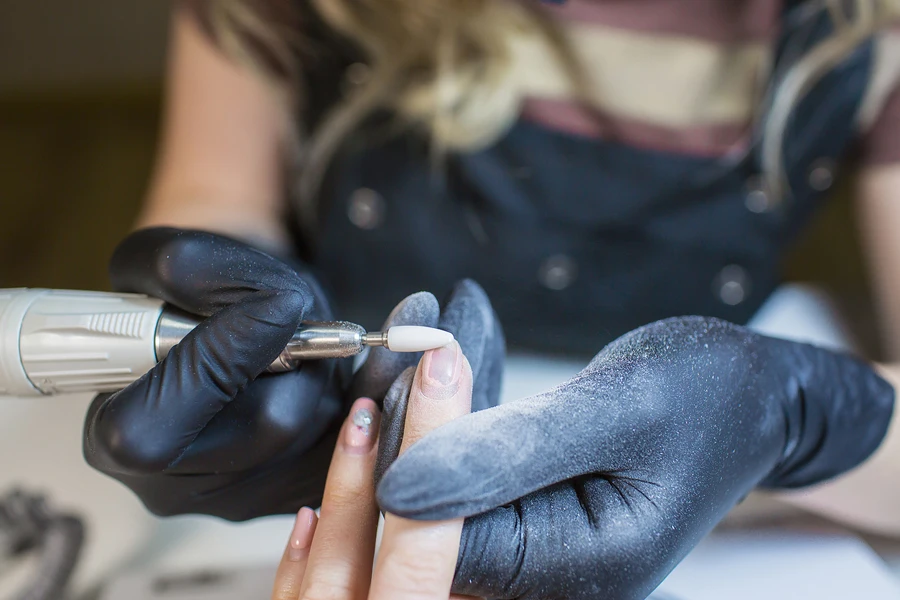
If you’re familiar with using a nail drill, this method can also help you remove acrylic nails at home. However, this should be done with caution, as using a nail drill incorrectly can cause damage to your natural nails.
What you’ll need:
- A nail drill or electric nail file
- Acrylic nail bits
- A buffer or nail buffer block
Step-by-step instructions:
- Trim and file your acrylic nails: Just like the soaking method, trim your acrylic nails as short as possible and gently file the top layer to remove any shine. This helps the nail drill work more efficiently.
- Use the nail drill to remove acrylic: Start by using a coarse bit to gently grind down the acrylic. Hold the drill at a low speed to avoid damaging your natural nails. Work slowly and carefully, removing small layers at a time.
- Smooth out the natural nail: Once most of the acrylic is removed, switch to a finer bit to smooth out the surface of your natural nails.
- Buff and moisturize your nails: After removing the acrylic nails, buffer the surface of your nails gently and apply cuticle oil or a moisturizing lotion to keep your nails healthy.
Method 3: Using a soaking bowl and warm water
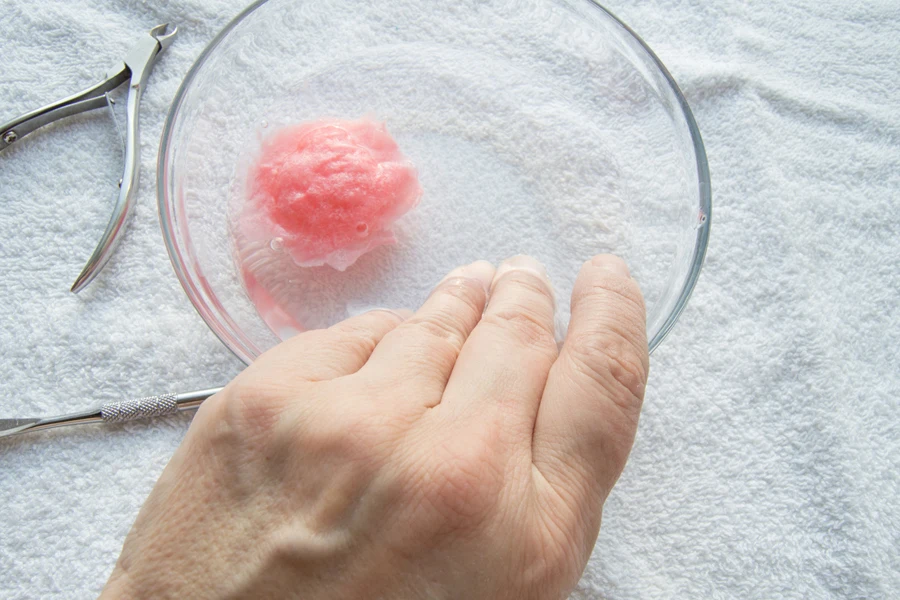
If you don’t have acetone or prefer a gentler method, soaking your nails in warm water and soap can help soften the acrylics and make them easier to remove.
What you’ll need:
- A bowl of warm water
- Dish soap or cuticle oil
- Nail file
Step-by-step instructions:
- Fill a bowl with warm water: Fill a bowl with hot water and add a few drops of dish soap or cuticle oil. Soaking your nails in warm water will help loosen the bond between the acrylic and your natural nails.
- Soak your nails: Place your fingers in the bowl for 15-20 minutes, occasionally wiggling your fingers to help loosen the acrylics.
- File off the acrylic: After soaking, gently file down the acrylic nails using a nail file. The acrylic should start coming off in layers. Be patient and avoid using force.
- Buff and moisturize: Once the acrylics are removed, buff your nails and apply cuticle oil to keep your natural nails hydrated.
Tips for healthy nails after acrylic removal
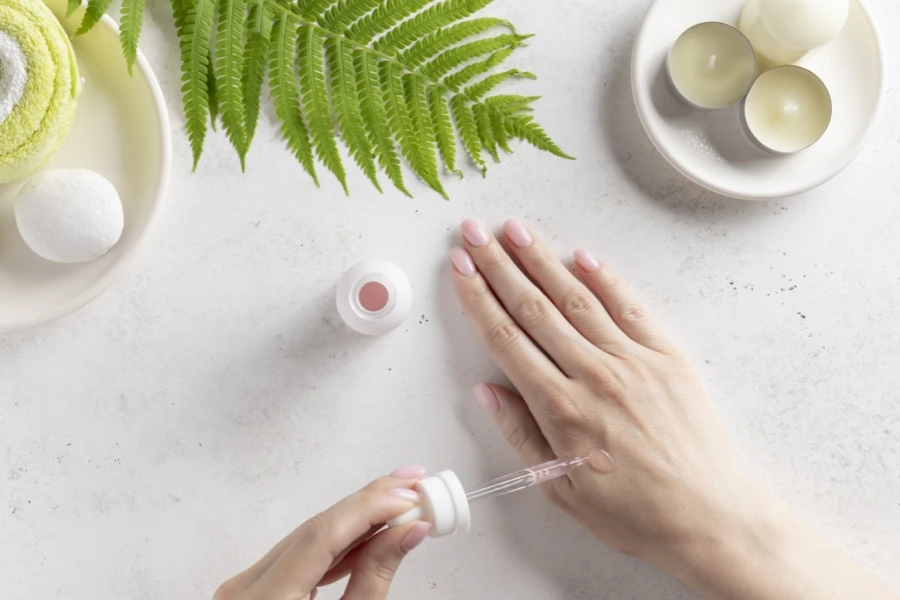
Removing acrylic nails can be tough on your natural nails, so it’s important to take care of them afterward to keep them healthy and strong.
- Give your nails a break: Allow your natural nails to breathe for at least a week before applying any new acrylics or gel nails.
- Hydrate your nails: Apply cuticle oil daily to keep your nails moisturized.
- Avoid using harsh chemicals: After removing acrylic nails, try to avoid using harsh chemicals or cleaning agents that can dry out your nails.
- Trim and shape your nails regularly: Keep your natural nails trimmed and shaped to avoid any breakage.
How to know when to get a professional to remove nails
While it’s possible to remove acrylic nails at home, certain situations may call for a trained nail tech to ensure the safety and health of your natural nails. Here are signs that it’s best to seek help from a nail technician:
- Your nails are damaged or thin: Weak or brittle nails are prone to further damage. A professional can remove acrylics gently.
- You feel pain or sensitivity: Professionals know how to handle sensitive areas safely.
- There’s infection or inflammation: Redness or swelling requires careful handling to avoid worsening any infection.
- Acrylic won’t budge: If it’s lifting but stuck in spots, forcing it off can harm your natural nail.
- DIY isn’t working: If at-home methods aren’t effective, professionals have the right tools and techniques.
When in doubt, it’s best to seek help from a trained professional, especially if your nails or skin feel compromised. They can make the process faster, safer, and gentler on your natural nails, leaving you with healthier-looking nails afterward.
Final thoughts
Removing acrylic nails at home is simple, but it requires some patience and care. Whether you soak your nails in acetone, use a nail drill, or opt for a gentler soaking method, the key is to take your time and not rush the process. Always moisturize your nails afterward to keep them healthy and strong.
Businesses that sell beauty products can help their customers with this process by offering high-quality acetone, nail files, cuticle oils, and nail care kits—everything they need for safe and easy acrylic nail removal at home. Promoting these products not only supports customers but also builds trust in your brand as a go-to for all their nail care essentials.
Encourage your customers to care for their natural nails by stocking products that support healthy nail maintenance and post-removal care!
