A car’s battery is usually one of the most unchecked components of a car’s system until there’s total silence when trying to start the engine. This can occur at odd times such as when late for work, on emergency trips, and lots more. Surprisingly, reports suggest that most car owners don’t check the car’s battery until then.
As part of preventive measures to avoid unpleasant surprises, it’s important to learn how to test a car’s battery so as to decide when it needs to be replaced or charged. This guide will walk you through everything you need to know about testing the voltage of a car’s battery and how to charge it if need be.
Table of Contents
Car battery systems
How to test a car’s battery
How to charge a car’s battery
Conclusion
Car battery systems
The primary function of a car’s battery is to provide a jolt of electric current to power the car’s electrical system including headlights, starter motor, ignition coil, and interior lights. This little powerhouse needs to provide the optimum voltage required to keep the engine running, hence it is the heart of any vehicle.
Due to the global increase in automobile sales, the automobile car battery market size has risen to $43.32 billion in 2020 and is expected to reach 45.10 billion in 2021 and 65.62 in 2028 at a CAGR of 5.5% between 2021 and 2028.
Car batteries generally have a life span of 3 to 4 years depending on factors such as driving habits (frequency of use), weather conditions, and exposure, hence the need for regular battery checkups—say 2 to 3 times a year. Read on to discover how to easily test your car’s battery and charge it if there is a voltage drop.
How to test a car’s battery
Prior knowledge of how to test for the voltage of a car’s battery is of uttermost importance. However, car owners may observe some signs associated with bad car batteries. These include;
– Battery light illuminated on the dashboard
– The engine cranks slowly when starting
– Vehicle requires frequent jump starts
– Clicking when you turn the engine
– Lights are dim
– The car won’t start
Step-by-step guide to test a car’s battery with a multimeter
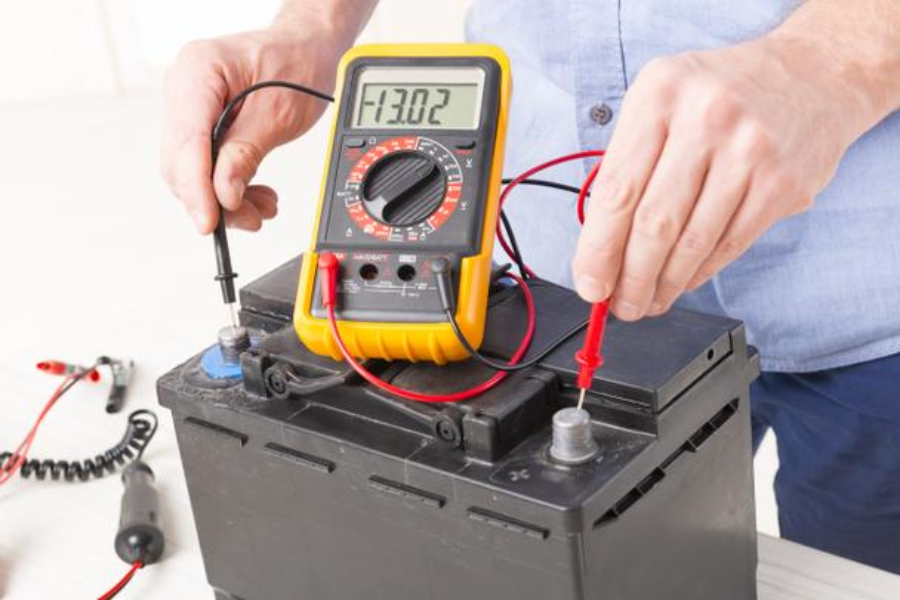
Most car owners will find a multimeter handy when testing the battery of a car as it provides more accurate data. A multimeter is a testing device used to gauge the amps, volts, and resistance from an electrical source. With that in mind, let’s explore the steps in testing the voltage reading of a car’s battery.
1. Assemble the battery
Firstly, you need to locate the car’s battery position by consulting the vehicle’s handbook. Most modern vehicles have their battery (a black rectangular shaped box with two terminals at the top) located under the bonnet at the front right corner. It is important to use hand gloves when handling the battery to avoid damage to the skin due to direct exposure to the battery acid or corrosion at the battery terminals.
2. Prepare the multimeter
To use the multimeter in testing the voltage of a vehicle’s battery, the multimeter dial should be set to 20 volts. Also, to record a more accurate reading, it is necessary to get rid of surface charge from the battery by switching on the headlights for about 2 minutes before turning them off.
3. Measure and record
Once the battery and multimeter are in place, it’s time to take the voltage reading of the battery. Ensure to clean the terminals of the battery to remove corrosion as this may interfere with the reading of the multimeter. Connect the red probe of the multimeter to the positive terminal of the battery and the black probe to the negative terminal.
4. Take the voltage reading

When the car is off and the battery is resting, the voltage should range from 12.2 to 12.6 volts if the battery is good and sufficient to keep the engine up and running. But if the voltage falls below 12.2, the output voltage is weak and the battery needs to be charged or replaced.
A further test is required to ascertain if the battery should be charged or replaced, and this leads to the crank cycle test. In this test, the engine is turned on and a reversed voltage of 10 volts should be obtained if the battery is good. If the voltage falls a little below 10 but greater than 5, the battery needs to be charged but if the voltage falls below 5, the battery is bad and needs to be replaced immediately to avoid unpleasant surprises and imminent failure.
How to charge a car’s battery
Due to the huge responsibility assigned to a car’s battery, its voltage is bound to decrease with time due to driving habits or a malfunction of the alternator. When this occurs, you may have to call a roadside automobile service or get your vehicle to the nearest repair station. Both options pose a lot of inconveniences, hence vehicle owners need to know how to charge the car’s battery when the need arises.
Safety precautions when charging a car’s battery.
Car batteries contain corrosive acids and also supply electric current to power a vehicle. With this in mind, the battery can be dangerous if carelessly handled during the charging process. So, the next time you pop up the hood to charge your battery, be sure to keep these safety precautions in mind to protect both yourself and the battery.
1. Put on safety glasses and acid-proof gloves before charging.
2. Confirm that your battery needs charging.
Always check your battery’s voltage with a digital battery meter or multimeter and the specific gravity of its electrolyte with a hydrometer before charging. It is disastrous to charge a full battery.
3. Use only recommended car battery chargers.
Consult the vehicle’s guide to know the battery charger compatibility and output voltage.
4. Turn off all electrical components of the vehicle before charging.
How to make use of a car battery charger
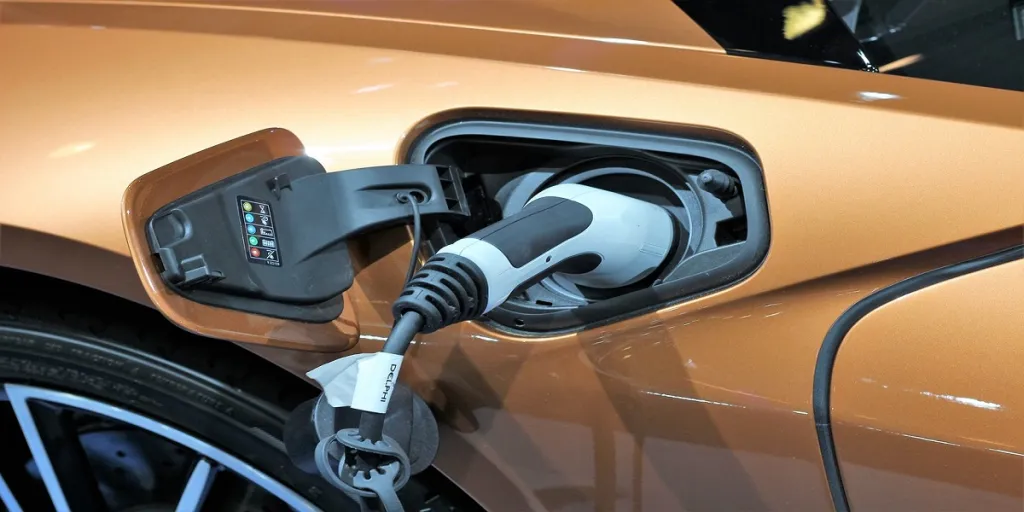
Car chargers are of two types. The first variant comes with a cord and uses electricity for charging. They are good for providing a stable charge to your battery.
The second type is the portable charger. This variant is designed to be kept in the vehicle at all times to power your battery in case of an emergency. They are rechargeable and come with a standby power source to charge your vehicle’s battery at any time.
Portable chargers come in several sizes and capacities, so ensure that you purchase one that can provide the optimum amperage for your vehicle. Here’s a checklist on how to use a car battery charger;
– Assemble the battery and put on protective clothing.
– Consult the vehicle’s handbook to determine the battery voltage and ensure that it correlates with the output voltage of the charger.
– Identify the negative and positive terminals of the battery. The positive cable will be red and depicted by the +, P, or POS abbreviation while the negative terminal will almost always be black and depicted by the -, N, or NEG abbreviation.
– Ensure that the charger is turned off or unplugged, then connect the positive clip of the charger to the positive terminal of the battery followed by the negative clip. Try not to reverse the connection; the positive must be connected before the negative.
– Set the output voltage to correlate with the optimum voltage of the battery. Then adjust the amps as required and set the timer.
– Turn off the charger once the charging is complete. Ensure you turn off the charger before removing any of the cables—the positive cable first before the negative cable.
Conclusion
Car batteries are the heart and soul of any vehicle, hence car owners need to ensure that they’re always in good condition. Many factors can affect the performance of a battery, so it is only essential that sellers know how to perform simple tests on batteries to ensure that they’re ready for sale.
If you’re looking out to improve your knowledge of vehicle parts and accessories, there’s a dedicated blog on how to diagnose a car engine issue here.


