It’s incredible how quickly in-car technology has evolved in just a few years. We’ve gone from basic radios and CD players to systems that stream our music, track real-time traffic on built-in maps, and even respond to voice commands.
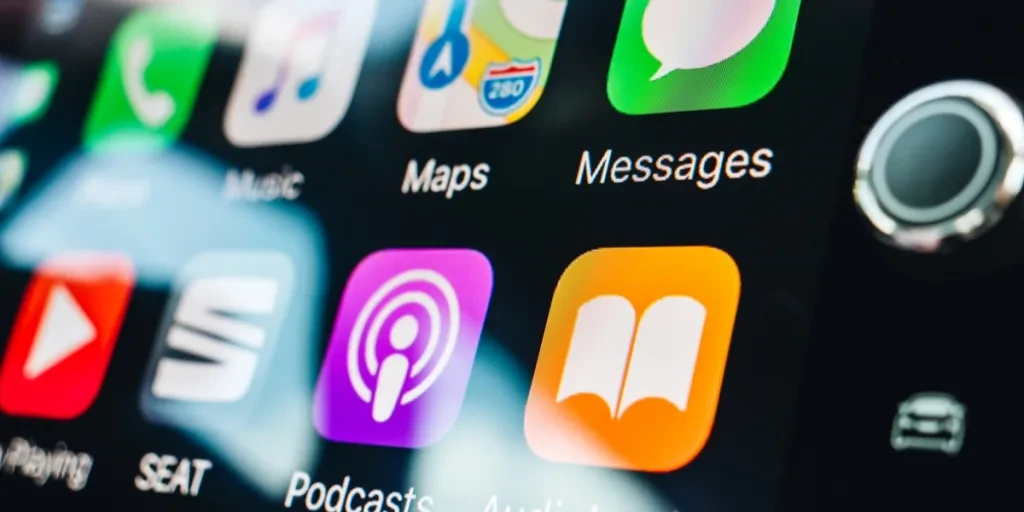
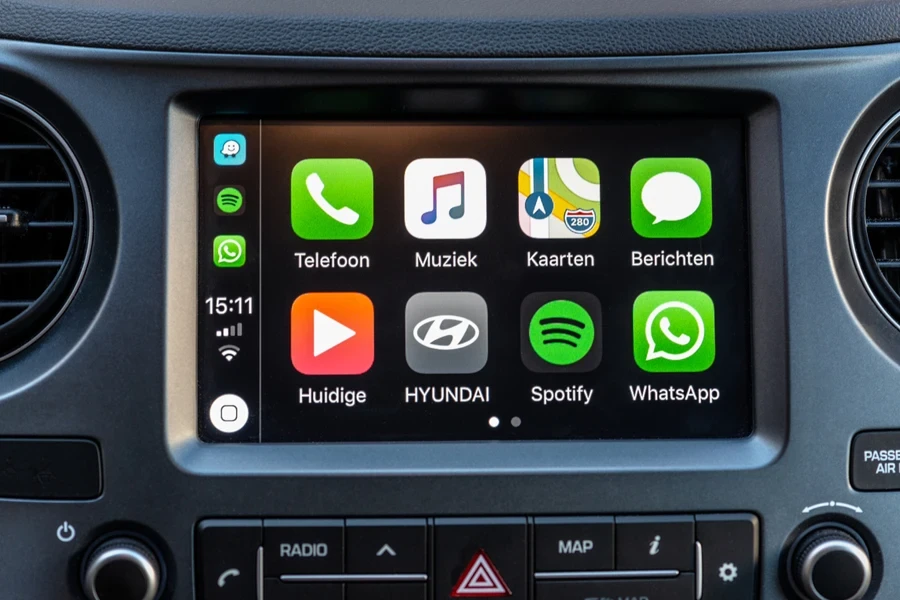
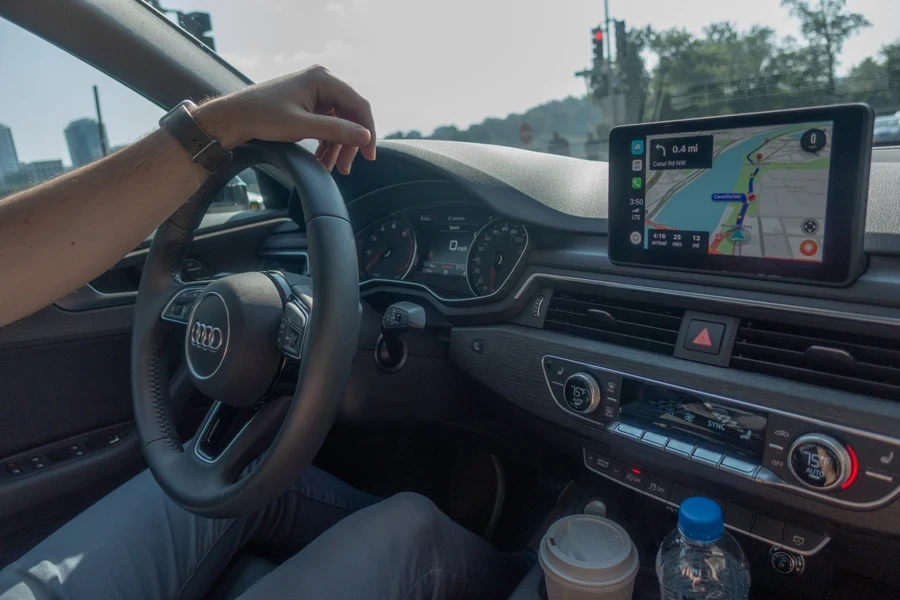
Apple’s CarPlay is one of the most popular integrations for iPhone users. It provides a simplified, safety-oriented interface on a vehicle’s display, allowing users to manage directions, calls, texts, and music—all through their phone’s apps and in a driver-friendly format.
However, what about car owners who don’t have CarPlay pre-installed? Have no fear, as the software is easy enough to install, and as car retailers, you can guide them on how to seamlessly integrate their iPhones with their preexisting car equipment.
In this article, we’ll explore what businesses should know about guiding consumers on installing CarPlay, as well as the materials and tools needed, how to troubleshoot problems, and how to maximize a new CarPlay setup once it’s been installed.
Table of Contents
Two ways to install CarPlay: Standalone screen vs. adapter
Standalone CarPlay screen
CarPlay adapter (via dongle)
Pros and cons
Materials consumers will need for each method
Guiding users on how to install a standalone CarPlay screen
Step 1: Pick a mounting spot
Step 2: Clean the surface
Step 3: Attach the screen
Step 4: Power it up
Step 5: Connect the iPhone
Step 6: Check the audio and video
Installing a CarPlay adapter on an existing stereo
Step 1: Confirm stereo compatibility
Step 2: Plug the adapter into the stereo’s USB or CarPlay port
Step 3: Connect the iPhone
Step 4: Enable CarPlay
Step 5: Test everything
Wrapping up
Two ways to install CarPlay: Standalone screen vs. adapter
There are two main ways to install CarPlay in a car that doesn’t already have it:
Standalone CarPlay screen
Standalone CarPlay screens are is an all-in-one unit with a display. They generally come with a mount (often a suction cup), a power cable that plugs into the user’s 12V accessory port (or cigarette lighter), and sometimes an auxiliary cable to play audio through the car’s speakers.
Many modern units also handle audio via an internal speaker or an FM transmitter. With these standalone screens, consumers don’t have to mess with their existing stereo, as they operate independently, requiring power from the vehicle and a wireless or wired connection to an iPhone.
CarPlay adapter (via dongle)

CarPlay adapters are a small device, or dongle, that plug into an existing head unit’s USB or auxiliary port, enabling CarPlay on the vehicle’s built-in display. Adapters work best if the car’s radio or infotainment system already has a touchscreen that is “CarPlay ready” or supports video input. If consumers are unsure whether their current stereo is compatible with an adapter, they may need to check the model’s specifications or consult their vehicle’s manual or an audio specialist.
Pros and cons
A standalone screen is ideal if the user’s preexisting radio lacks the necessary technology or they prefer a simpler, plug-and-play solution that doesn’t require altering the dashboard. An adapter has the benefit of reducing clutter on the dash (as there’s no extra screen) and uses the car’s original display for CarPlay.
However, users must first ensure that their radio is compatible, which usually isn’t the case in older vehicles unless they’ve already upgraded to an aftermarket head unit with CarPlay potential.
Materials consumers will need for each method
Here, we’ll take a look at the various items users will need to install either a standalone CarPlay screen or via an adapter.
For a standalone screen, they’ll need:
- The CarPlay display. Some are about the size of a small tablet; others are bigger or more compact.
- A suction cup or bracket to attach the screen to their windshield or dash
- A power cable that goes into the 12V socket
Other cables for optional audio connections, like an AUX cord or an FM transmitter option, may also be needed. But often, these can usually be run through the screen or over the car’s Bluetooth system if supported.
For an adapter, they’ll require:
- A head unit (the main stereo in their dash) that can accept CarPlay input. Usually, these already have a screen and a way to plug in USB devices or smartphone interfaces.
- A CarPlay dongle. They may use a wired connection from their phone to the adapter or options that let them go wireless.
- Possibly a compatible USB cable or harness, depending on the car’s ports
Guiding users on how to install a standalone CarPlay screen
For consumers looking to install a CarPlay screen, here are the basic steps:
Step 1: Pick a mounting spot
Most people place the suction cup near the lower portion of the windshield, which won’t block their field of vision but is still easy to reach.
Step 2: Clean the surface
A quick wipe with a cloth to remove dust and oil can help the suction cup stay put.
Step 3: Attach the screen
Next, place the screen on the prepared mounting spot. Remember to advise users to press the suction cup down firmly and flip it to lock if there’s a lever. Afterwards, adjust the viewing angle so that they can see the display clearly from a sitting position.
Step 4: Power it up
First, the user should run the power cable from the screen to the 12V socket. It’s best to tuck the cable around the edges of the dash so it doesn’t dangle in front of the HVAC controls or gear stick. Some may prefer to use small adhesive hooks or zip ties to secure the wire.
Step 5:Connect the iPhone
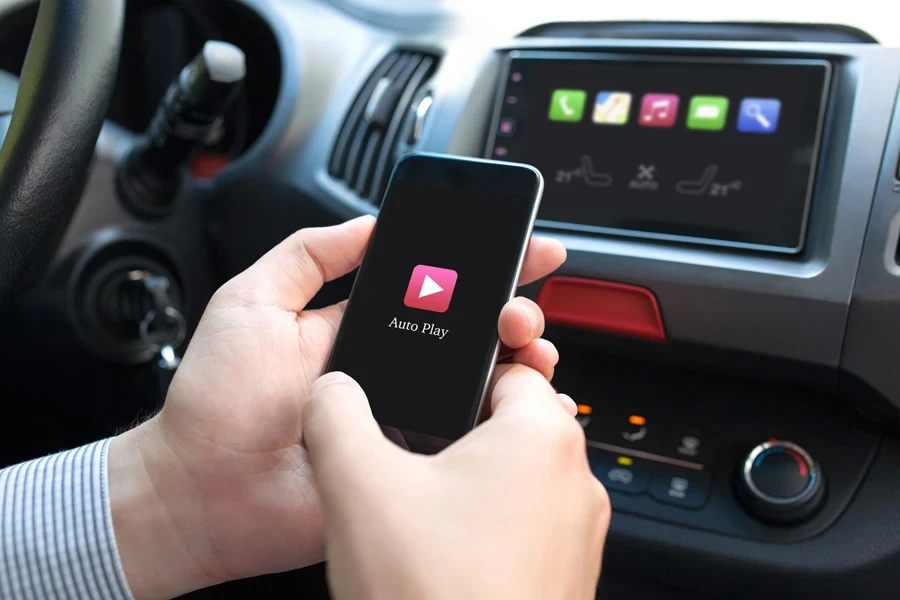
For wireless models, Bluetooth must be enabled on the user’s phone. First, find the CarPlay device in the pairing list, and follow any on-screen prompts. Once that’s set, the phone should automatically reconnect in the future. If it’s a wired screen, the user will only need to plug their phone in via the Lightning cable to connect.
Step 6: Check the audio and video
After successfully connecting, users should check that the setup works properly. Once the screen recognizes the phone, the CarPlay interface should pop up automatically. The user can then try launching Maps or playing a song to confirm everything’s working.
If the sound only comes through the screen’s built-in speaker, and the user would rather use the car’s speakers, they should explore whether the screen offers an option for AUX or FM transmission. If it does, they can set their car’s stereo to the correct AUX source or FM frequency.
Installing a CarPlay adapter on an existing stereo
For those with a touchscreen stereo or a late-model factory unit marketed as CarPlay-compatible (but didn’t come with CarPlay enabled), an adapter might be the ticket to easy installation. Here’s what users should know:
Step 1: Confirm stereo compatibility
This step is a must. If users use an aftermarket stereo from Pioneer, Kenwood, or another popular brand, they must check if their particular model supports CarPlay with an add-on.
Some models will need firmware updates before they can run CarPlay. If a user has a factory-installed system, ask them to research whether it supports CarPlay. Many official car forums or brand-specific communities will have threads on which models can easily be upgraded.
Step 2: Plug the adapter into the stereo’s USB or CarPlay port
Many modern head units have a USB port labeled for CarPlay or iPod. If the user’s car has one standard USB port up front, that might be it – though some vehicles hide a dedicated port behind the dash. If so, they might have to gently remove a portion of the dash trim. The adapter typically goes right into that port, drawing power via USB.
Step 3: Connect the iPhone
Depending on the dongle, users may have to connect through a Lightning cable (wired CarPlay) or pair it with Bluetooth first if it’s a wireless adapter. A few models may need a one-time wired pairing to set up wireless connections.
Step 4: Enable CarPlay
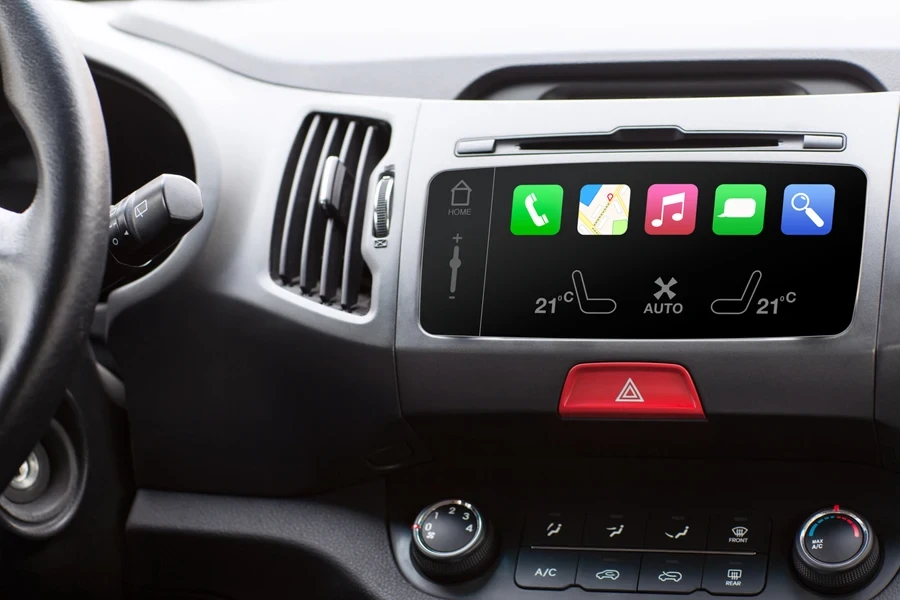
Usually, the stereo detects the adapter and shows a pop-up asking if users want to use CarPlay. Meanwhile, the phone will say something along the lines of, “This device would like to use CarPlay – allow?” Once everything’s approved, the user should see the familiar CarPlay home screen with app icons for Maps, Messages, Phone, etc.
Step 5: Test everything
As a final check, the user should open their preferred navigation app to ensure directions appear on the screen. They may also want to make a quick call, send a test message, or play a track to confirm the audio is correct and Siri is responding.
Wrapping up
For users who want to keep their existing radio setup, a CarPlay adapter might be the best option. But for those whose radio doesn’t support CarPlay compatibility, they may want to install a standalone CarPlay screen. Either way, both methods provide a modern interface for music, maps, messaging, and more – all integrated with an iPhone – and that’s a great reason to try out a CarPlay retrofit, regardless of the car’s age.